This summer, I will be releasing all 20 Teacher Creator’s Toolbox videos here on the Core Inspiration blog. Teacher Creator’s Toolbox is a comprehensive guide to help you succeed as a seller in the TPT marketplace. If you are interested in watching these video tutorials in chronological order, visit my video index here.


(00:19) What Guides Cover Page Design
(00:35) Square (Not Rectangular) Cover Pages
(01:05) Creating A Square Cover Page In PowerPoint
(01:30) Layer 1: The Background
(01:49) Layer 2: The Frame
(02:15) Layer 3: The Title
(02:45) Text Mistakes To Avoid
(03:25) The Clip Art
(04:07) Adding Cover Page to PDF Preview
(05:25) Uploading Thumbnails To Your Store Posting
(05:59) A Look At A Square Thumbnail In Action
Welcome To The Final Design Tool. This tutorial is all about one of the most important visual aspects of your resources – cover pages. Cover page design is one of those things that relies heavily on your personality, style and your target audience. Therefore, I will be teaching you a process for designing cover pages that you can apply when designing covers of any style.
One of my big overhaul projects in the coming months will be to reformat all of my existing cover pages so they are squares, not rectangular images trying to squeeze into a square frame. Creating square cover page images makes your cover page thumbnail very easy to view when you product appears in TPT’s search results.
To create a square document in PowerPoint:
Now on to designing. The first layer of a cover page is the background. As shown in Design Tool 9, you can add a background using the “themes” tab in Microsoft PowerPoint.
Once I have my background, I can also add a frame, which is discussed in Design Tool 9. The goal when adding a frame or frame-like overlay is to make the title of the resource easy to read against the background. If you decide to go with a solid background, a frame is not necessary because the resource title will already be easy to read.
Next, I will add the text by using the text box tool.
When I started designing resources, I used a variety of fonts but now that I am starting to have a clearer picture of how I want to reinforce my brand identity, I frequently use the same fonts throughout my resources. Regardless of what fonts you use, make sure they are readable. This is discussed in more detail in Design Tool 8.
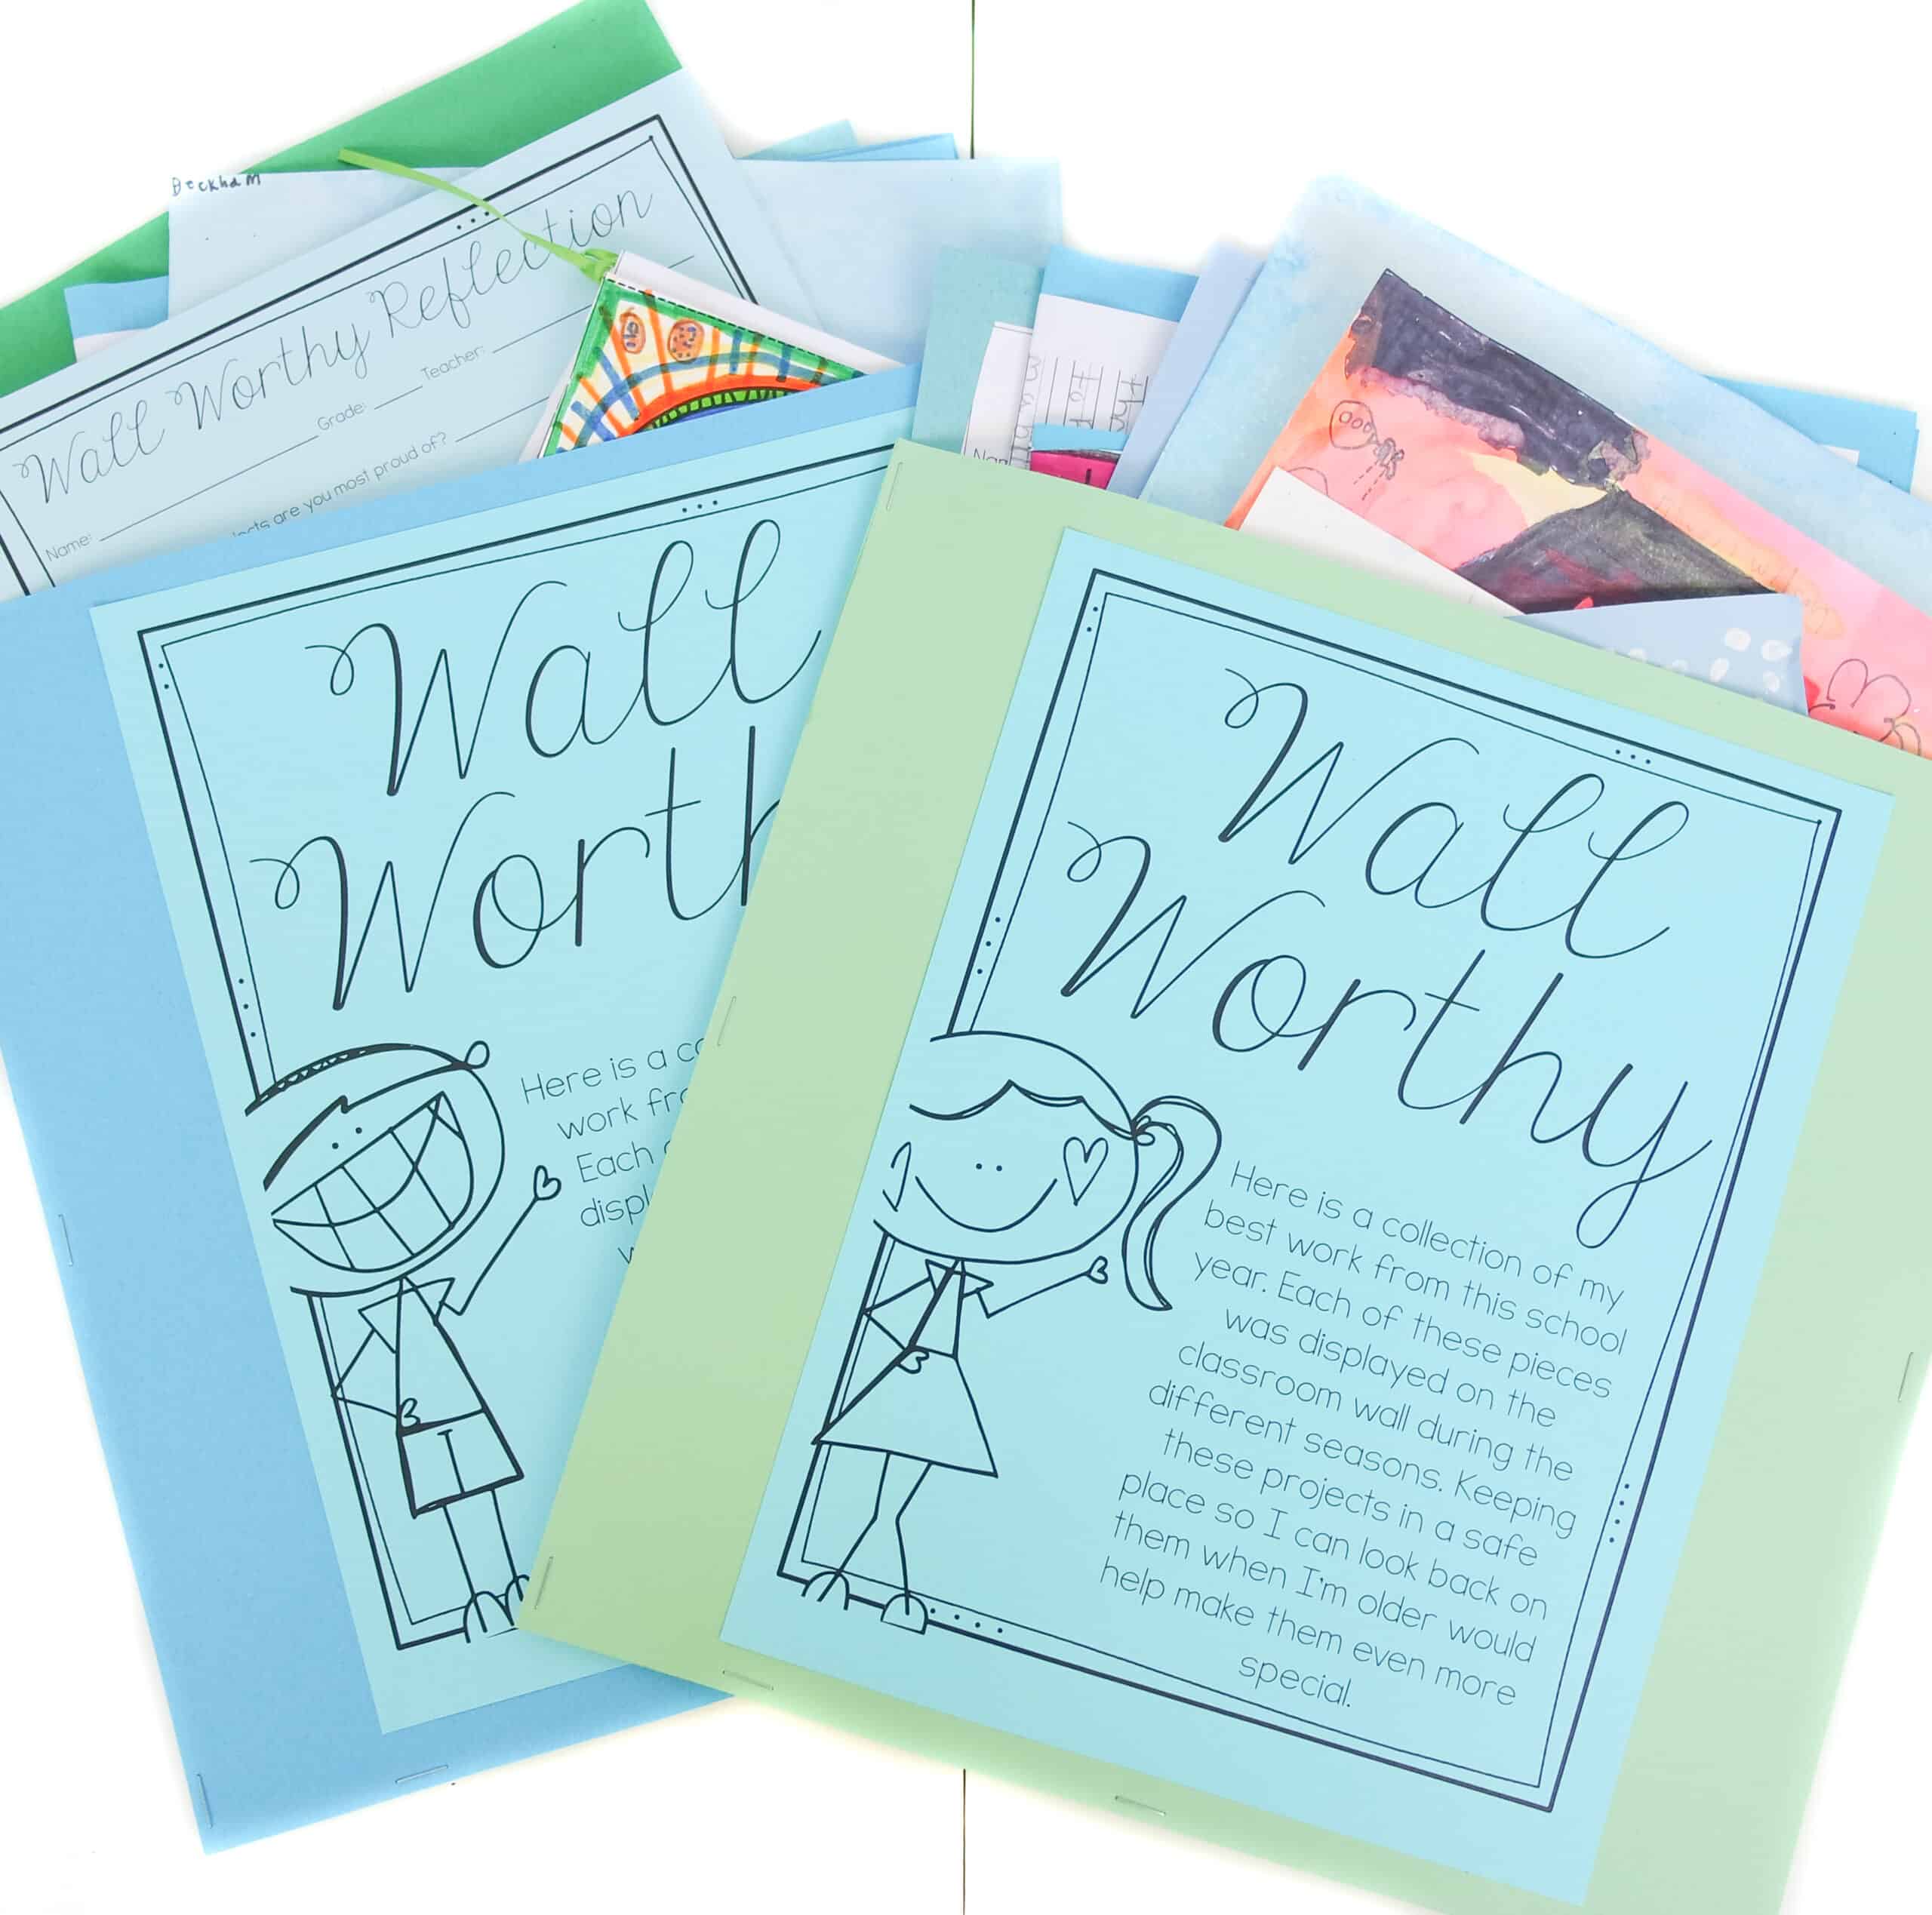
A frequent mistake made by teacherpreneurs is adding extra text to the cover page of a resource. Yes, it is true, you can read the text very clearly when you are looking at it full-size. In reality, very few people will likely ever read that text because they are scanning the images at thumbnail size in the search results. The extra text makes the thumbnail look cluttered and unappealing. Use your thumbnail space to display your title large and clear and save that extra text for the product description or even the title displayed next to your thumbnail.
The last design step is adding images. Detailed clip art techniques are introduced in Tool 10. This is certainly a step that varies greatly depending on personal preferences.
Once you’ve got a design you love, save your document as a PDF by clicking:
Now, you will add you cover page to your preview document so that it can be uploaded as a thumbnail. You will learn all about how to create a powerful preview document in Marketing Tool 14.
I will add this cover page to my preview document by opening the preview file in Adobe, clicking “tools”, then “pages” and selecting “insert from file”. I will then locate my square cover page document and click “select”.
After you’ve got your preview PDF saved and secured, head over to your store to upload your resource. When you have all of your information for the resource uploaded and complete, be sure to select let TPT generate image from product file, then click “submit”.
TPT will take a moment to upload and convert your preview file contents into JPEG images. You can then select which images you want to have displayed as your thumbnails. Be sure to put the cover page in position 1 as this is the thumbnail that displays in the search results and in your store. Click “submit” again.
As you can see, the thumbnails are available for viewing and if I head out to my store, all the contents of this thumbnail are completely visible because it was designed as a square as opposed to my other thumbnails which were designed as rectangles and are therefore cut off of the sides.
Now that you’ve seen all the design tools, it’s time to put them to work for you. I hope you enjoy adding visual appeal to your resources, cover pages and pins. Next up, I will give you a few tips for marketing your products to a wide audience.

I’ve been an elementary teacher for ten years, and love sharing tips and resources that make differentiated learning more manageable for you. Thank you for visiting.
Learn More

2 Responses
How many different types of fonts do you stick to in order to create brand identity?
Hi Tasha,
On social media and my blog, I stick to 3 fonts. Within resources and on cover pages, I have about five that I use consistently.
Laura