Many teachers reach out to me with questions about how to minimize paper clutter in the classroom and keep their unit resources organized. When it comes to organizing your teaching resources, it’s helpful to find an organization system that will help you store the essentials and force you to tidy up routinely so paper clutter doesn’t build up in the first place. Here are my favorite organization tips for four categories in your classroom.
Organizing Your Teacher Reference Books
Begin by looking through all your teacher reference books. Get a little Marie Kondo status by picking up each book and thinking about whether or not you have referenced it during the past year or two. If you haven’t used it, place it in a pile to donate. There are other teachers who may need that resource and it’s not doing anybody any good sitting on your shelf for years without use. Share the wealth.
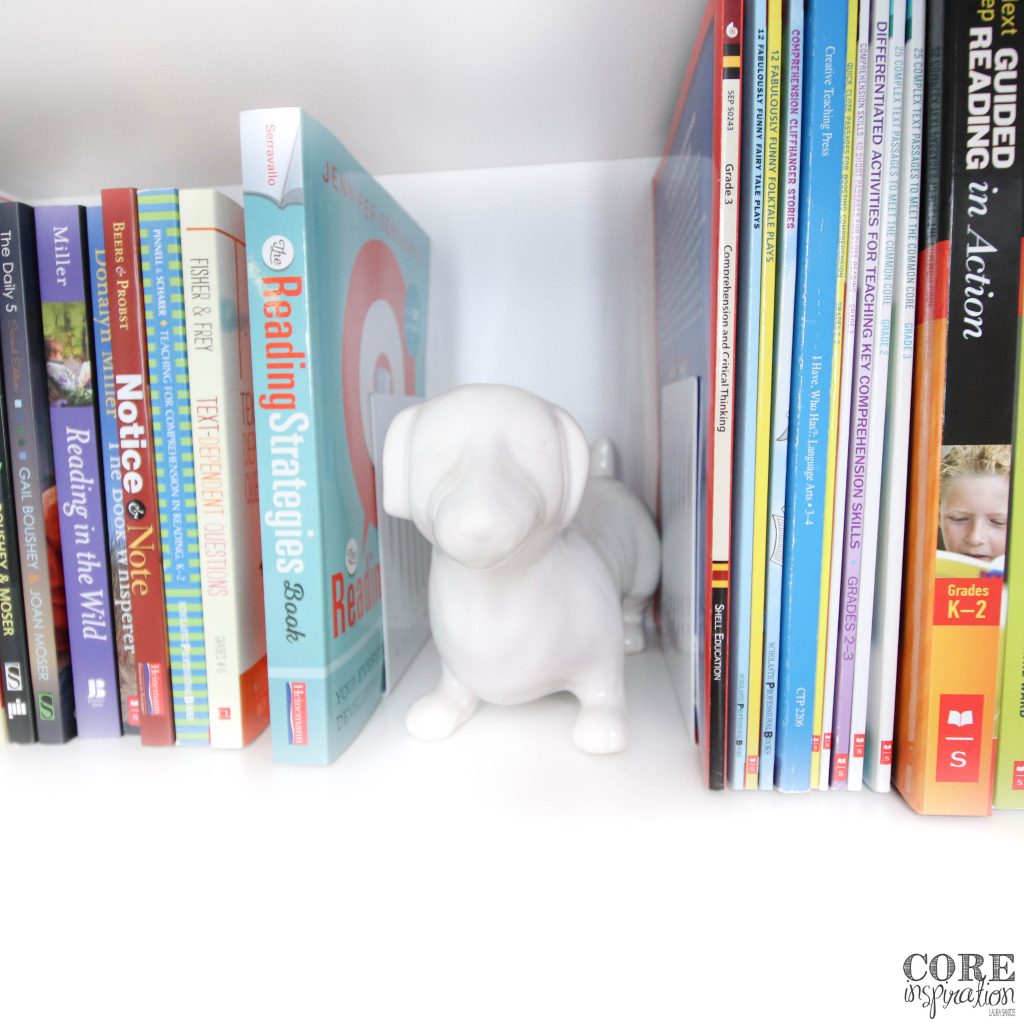
Any books that remain should be organized and placed on your shelf by subject. Using bookends (legitimate or makeshift) will help create boundaries between each subject so they are easier to access and keep organized.
Organizing Your Academic Unit Resources
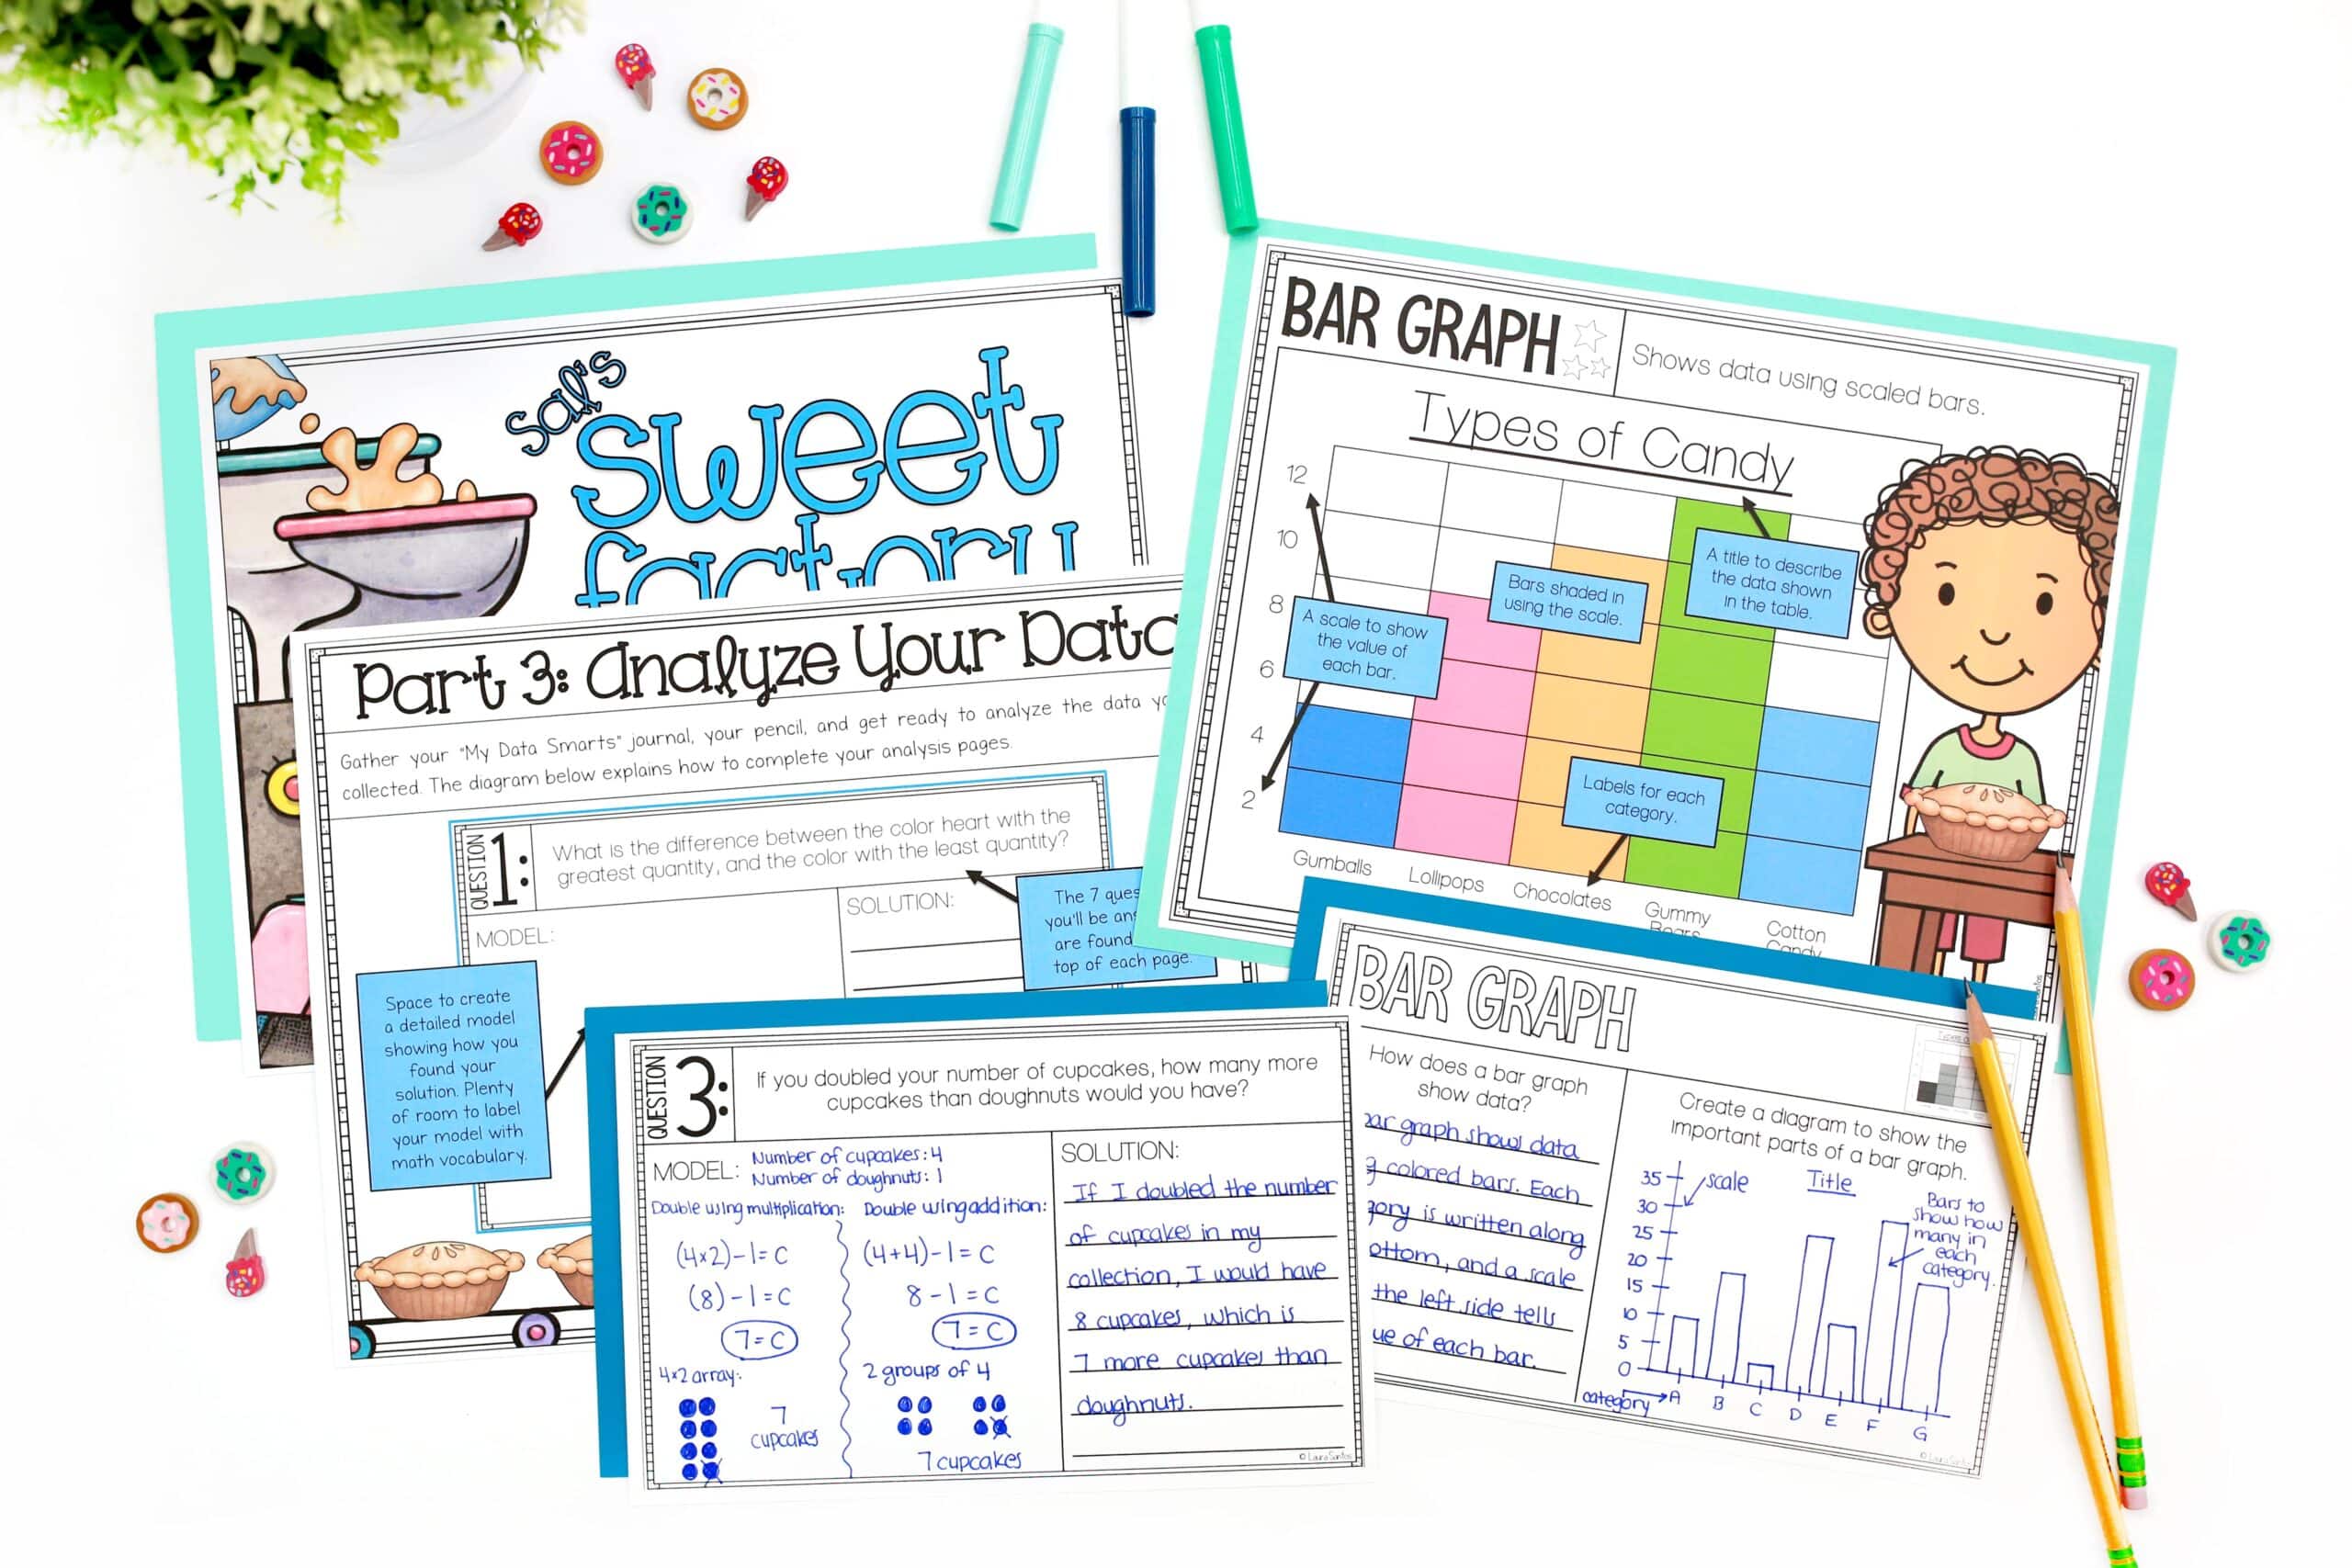
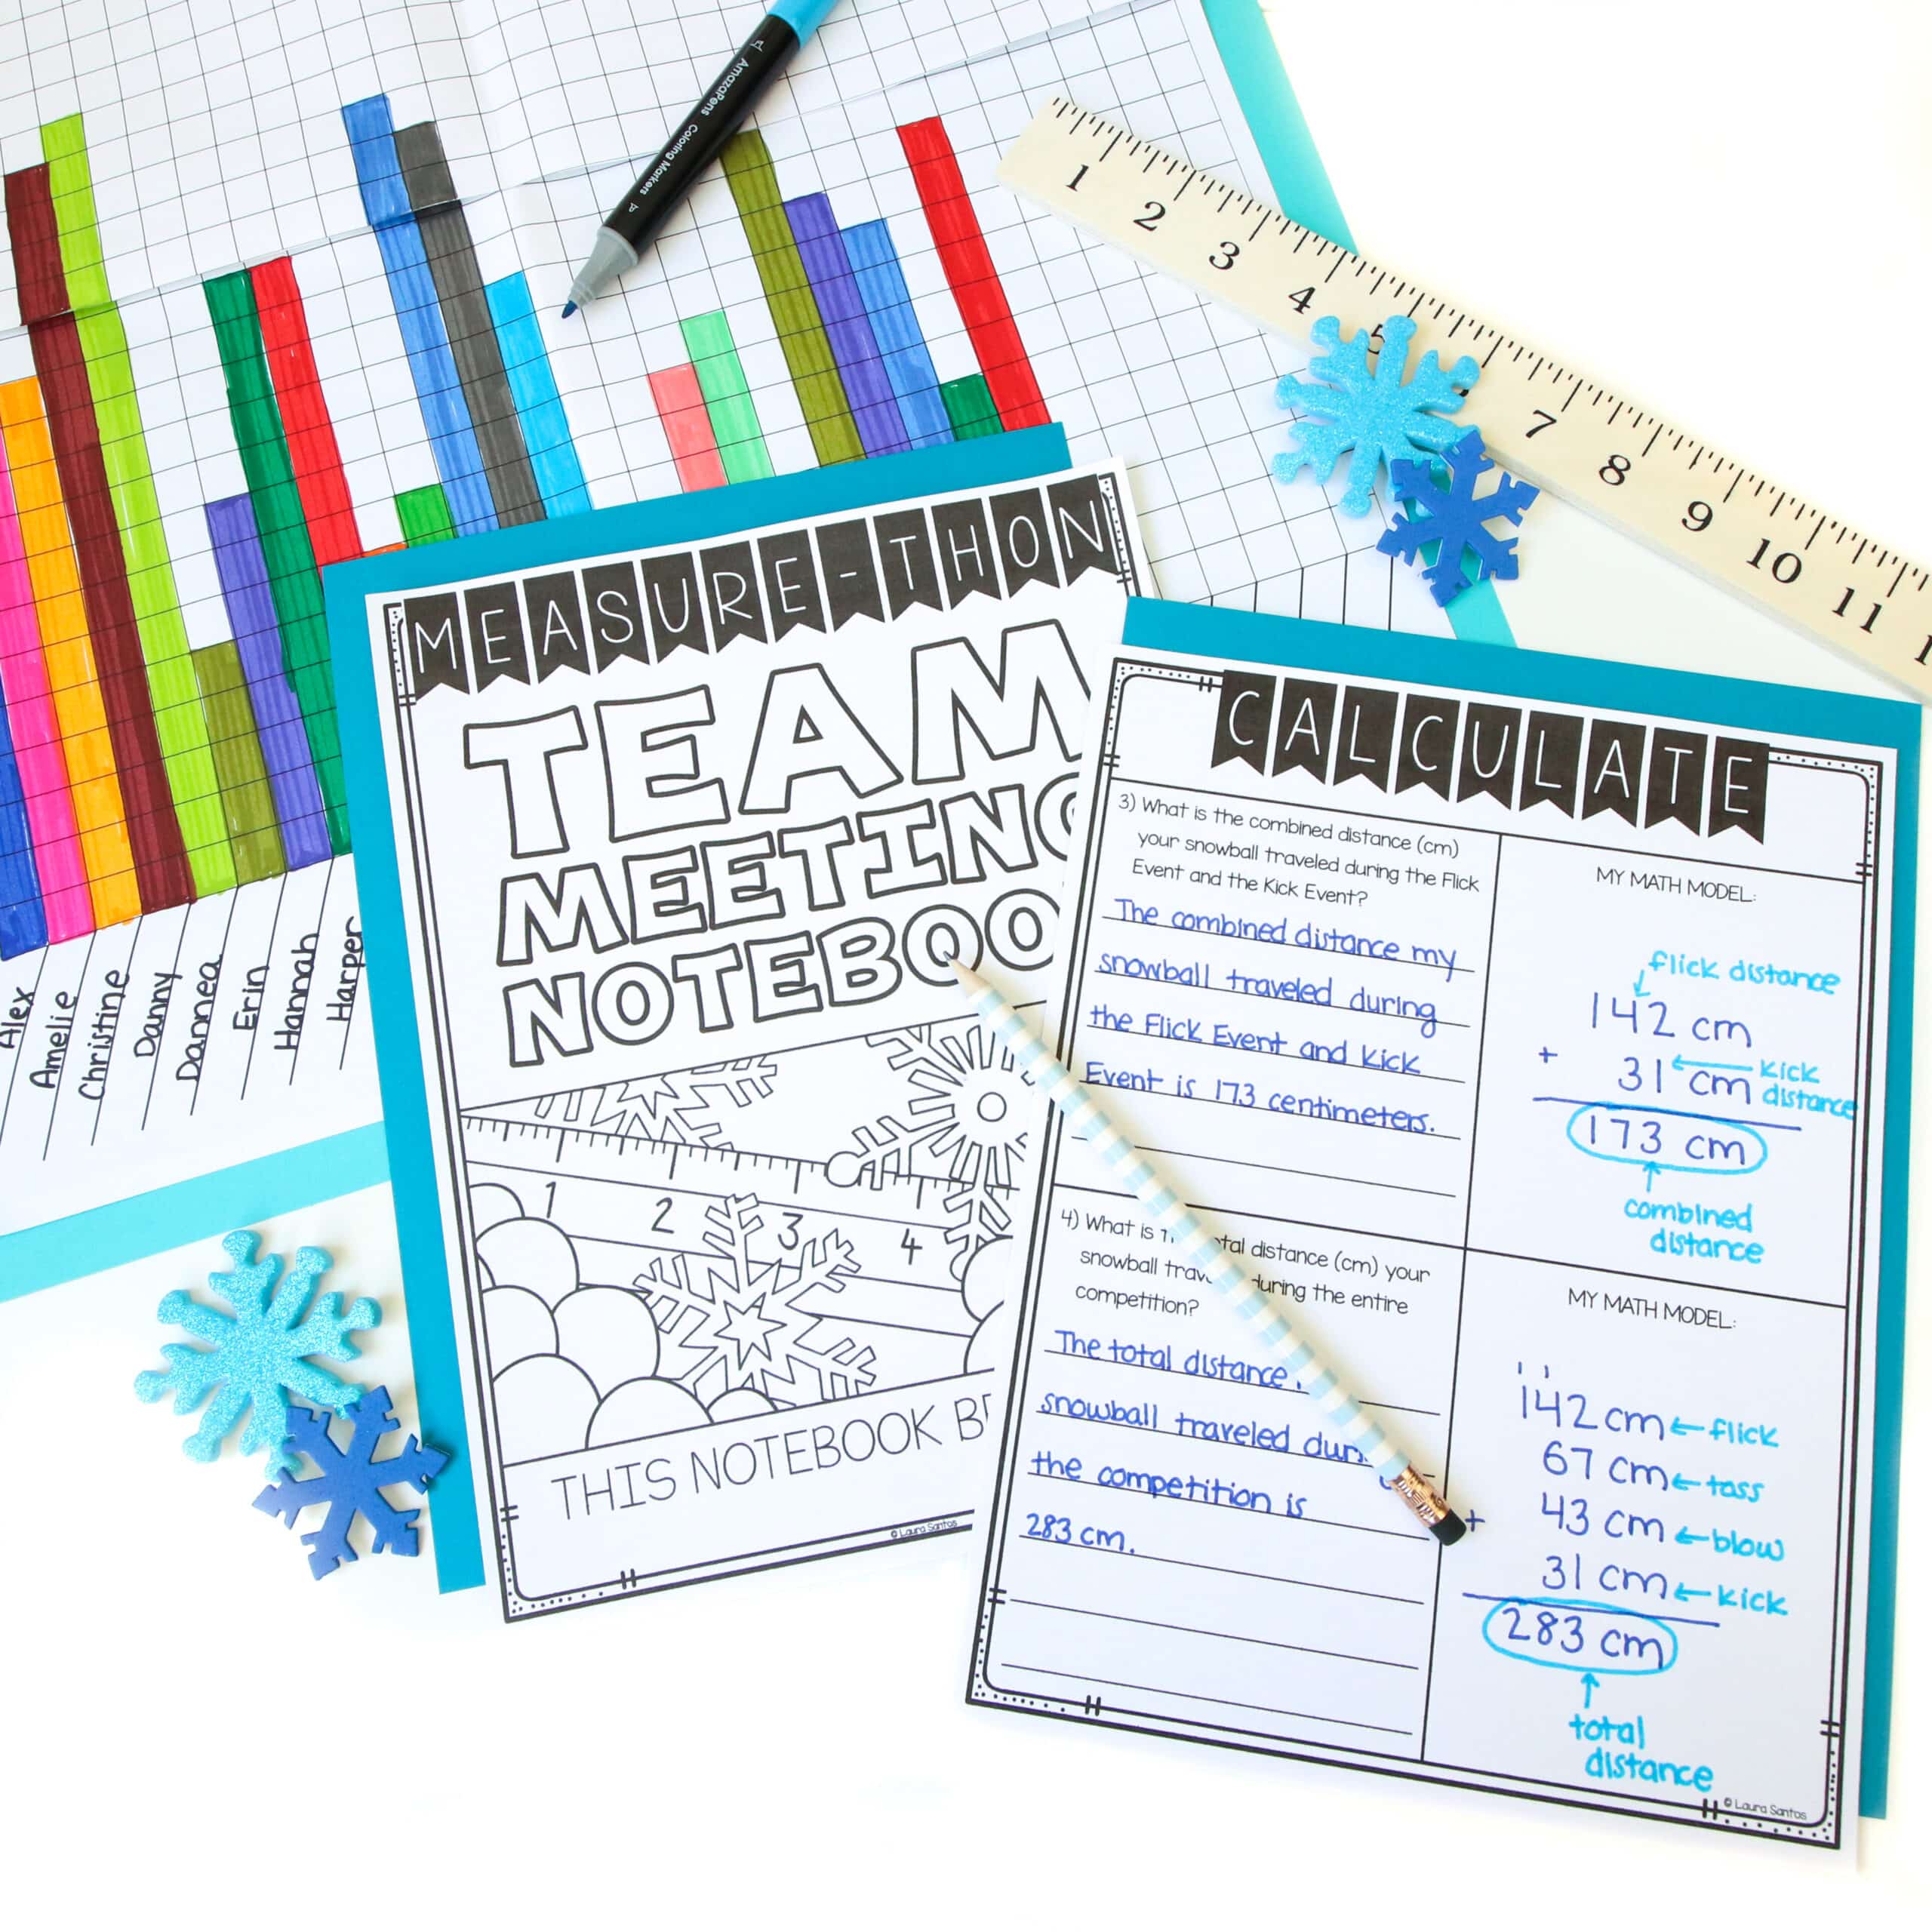
The resources you use for each unit aren’t nearly as easy to make tidy as beautiful books, so I recommend using uniform bins to store them. Using a bin that gives you just enough space for the essentials will help you stay accountable for keeping clutter minimal. Bins also make it easy to pull the resources you’re using to teach your current units while containing any flailing folders or stacks of paper that might clutter your students’ learning space.
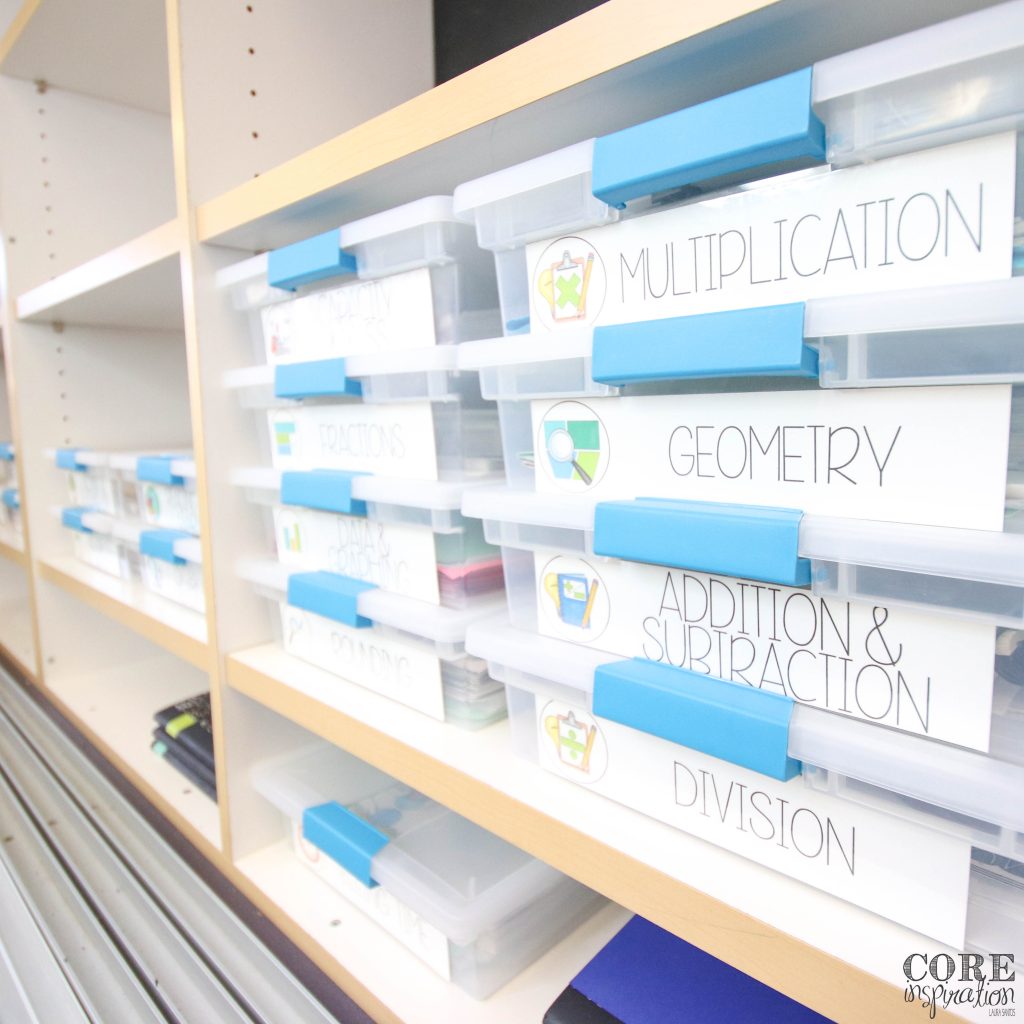
When organizing these unit bins, use the same approach you used for de-cluttering your books. Go through each piece of paper and each resource you have. If you haven’t used it during the last two years, place it in your discard or donate pile. Any resources you love using will be added to your bins. Last, add labels to the outside of each container so it’s easy to read what’s inside when they’re stored together with other units.
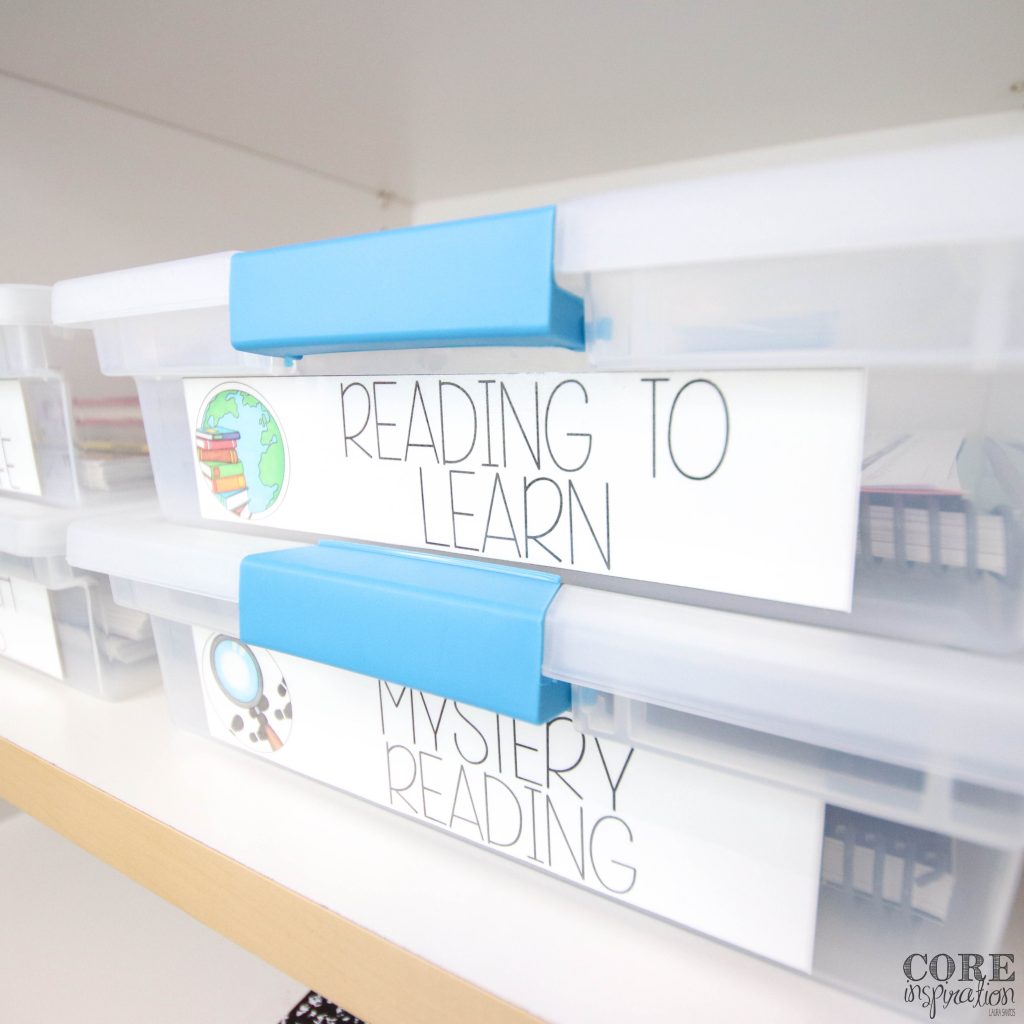
Keep the bins for upcoming and past units in your cabinet so they’re out of sight, and pull the bins for your current units to a space where they’re easy to access daily. As you teach a unit, these bins can act as a catch-all for any resources you used and any new resources you gathered. When the unit is complete, take a moment to sift through the bin, eliminating any paper clutter, and get it organized for the following year in a snap.
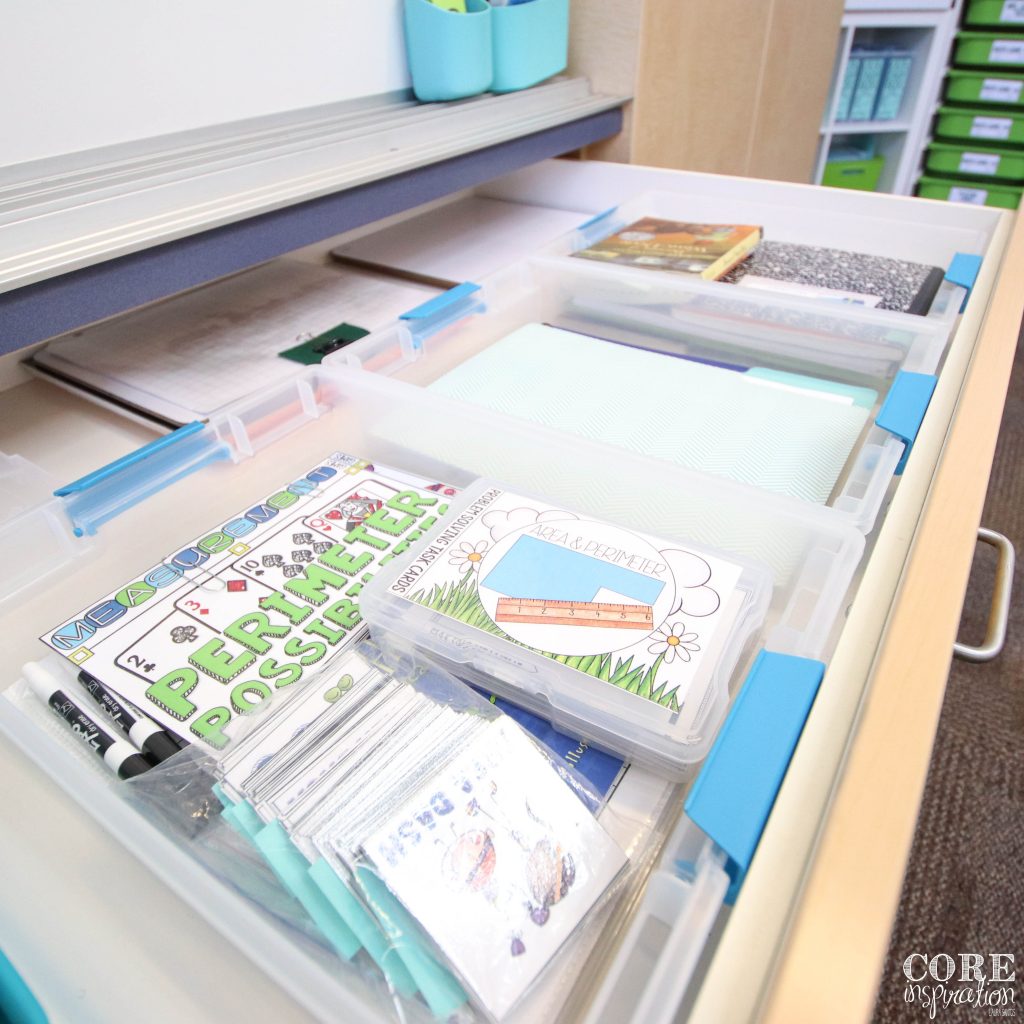
The size of the bins you use depends on the grade you teach and the size of the materials needed for the unit, but the bins I recommend most are these Sterilite snap-top boxes.
Organizing Smaller Items for Each Unit
Inside each of your unit bins, you can further organize your resources by using file folders and small plastic boxes. Filing items in a folder and then laying them flat in the bin makes it easier to pull bin contents and find what you need while teaching the unit.
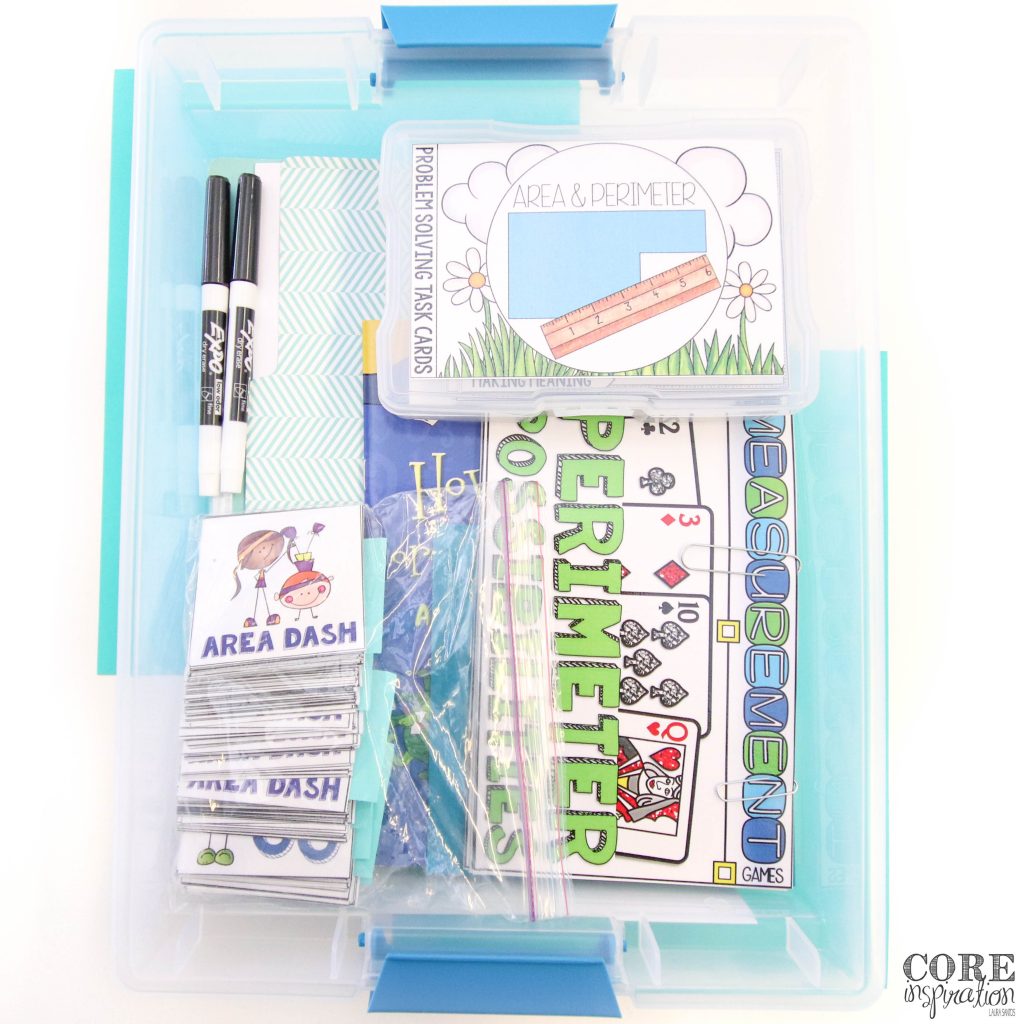
One of my favorite tools for organizing smaller items like task cards or game cards is Iris 4”x6” photo boxes. These boxes make it easy to contain and pull smaller resources throughout your unit. Ziplock bags are another tool I use frequently to contain some of the smaller items needed for my units.
Organizing Art Projects and Seasonal Units
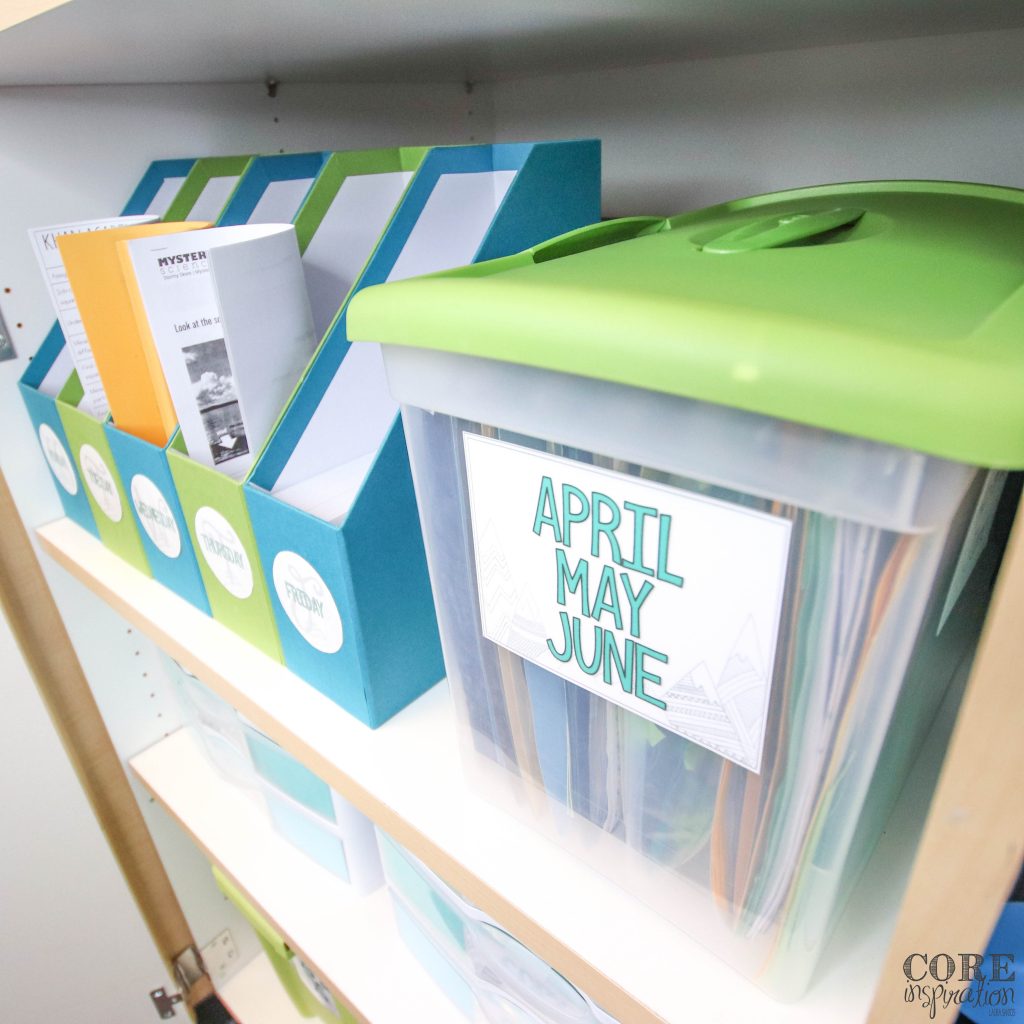
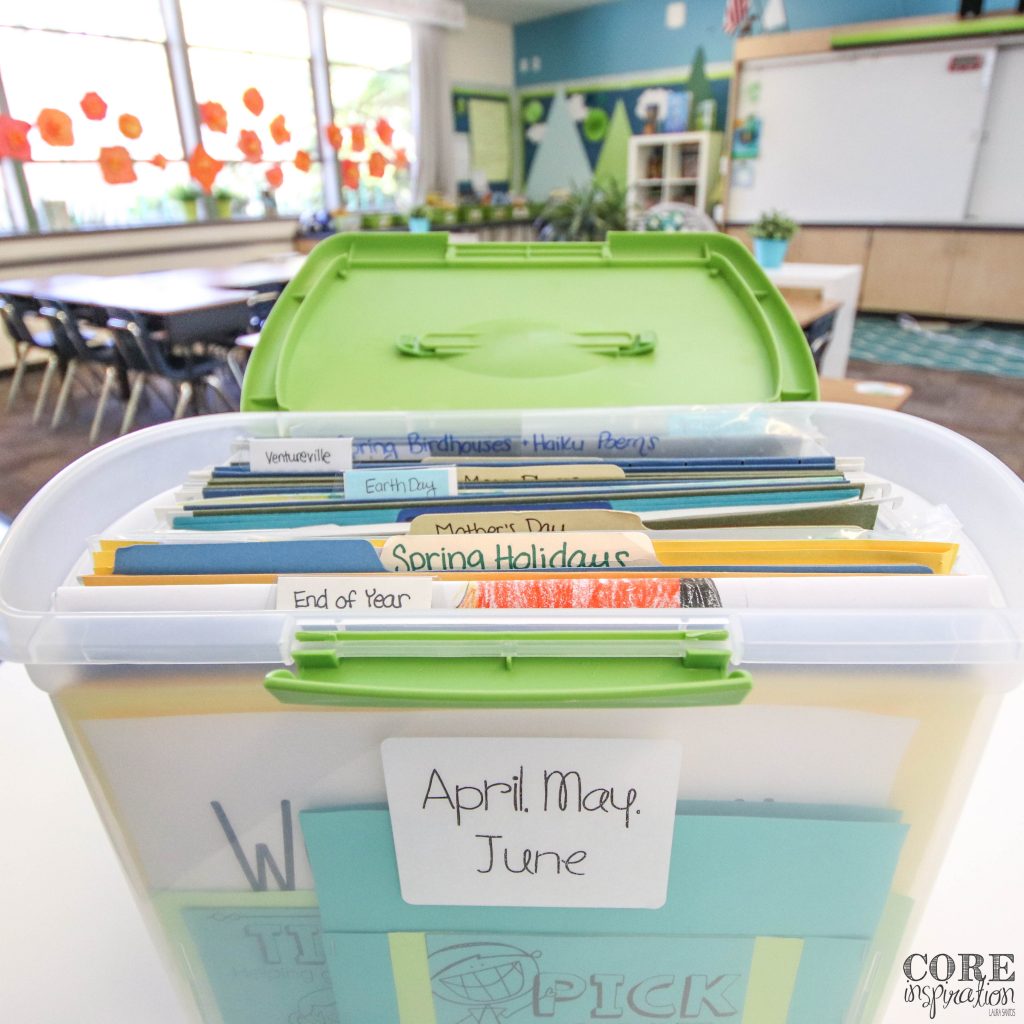
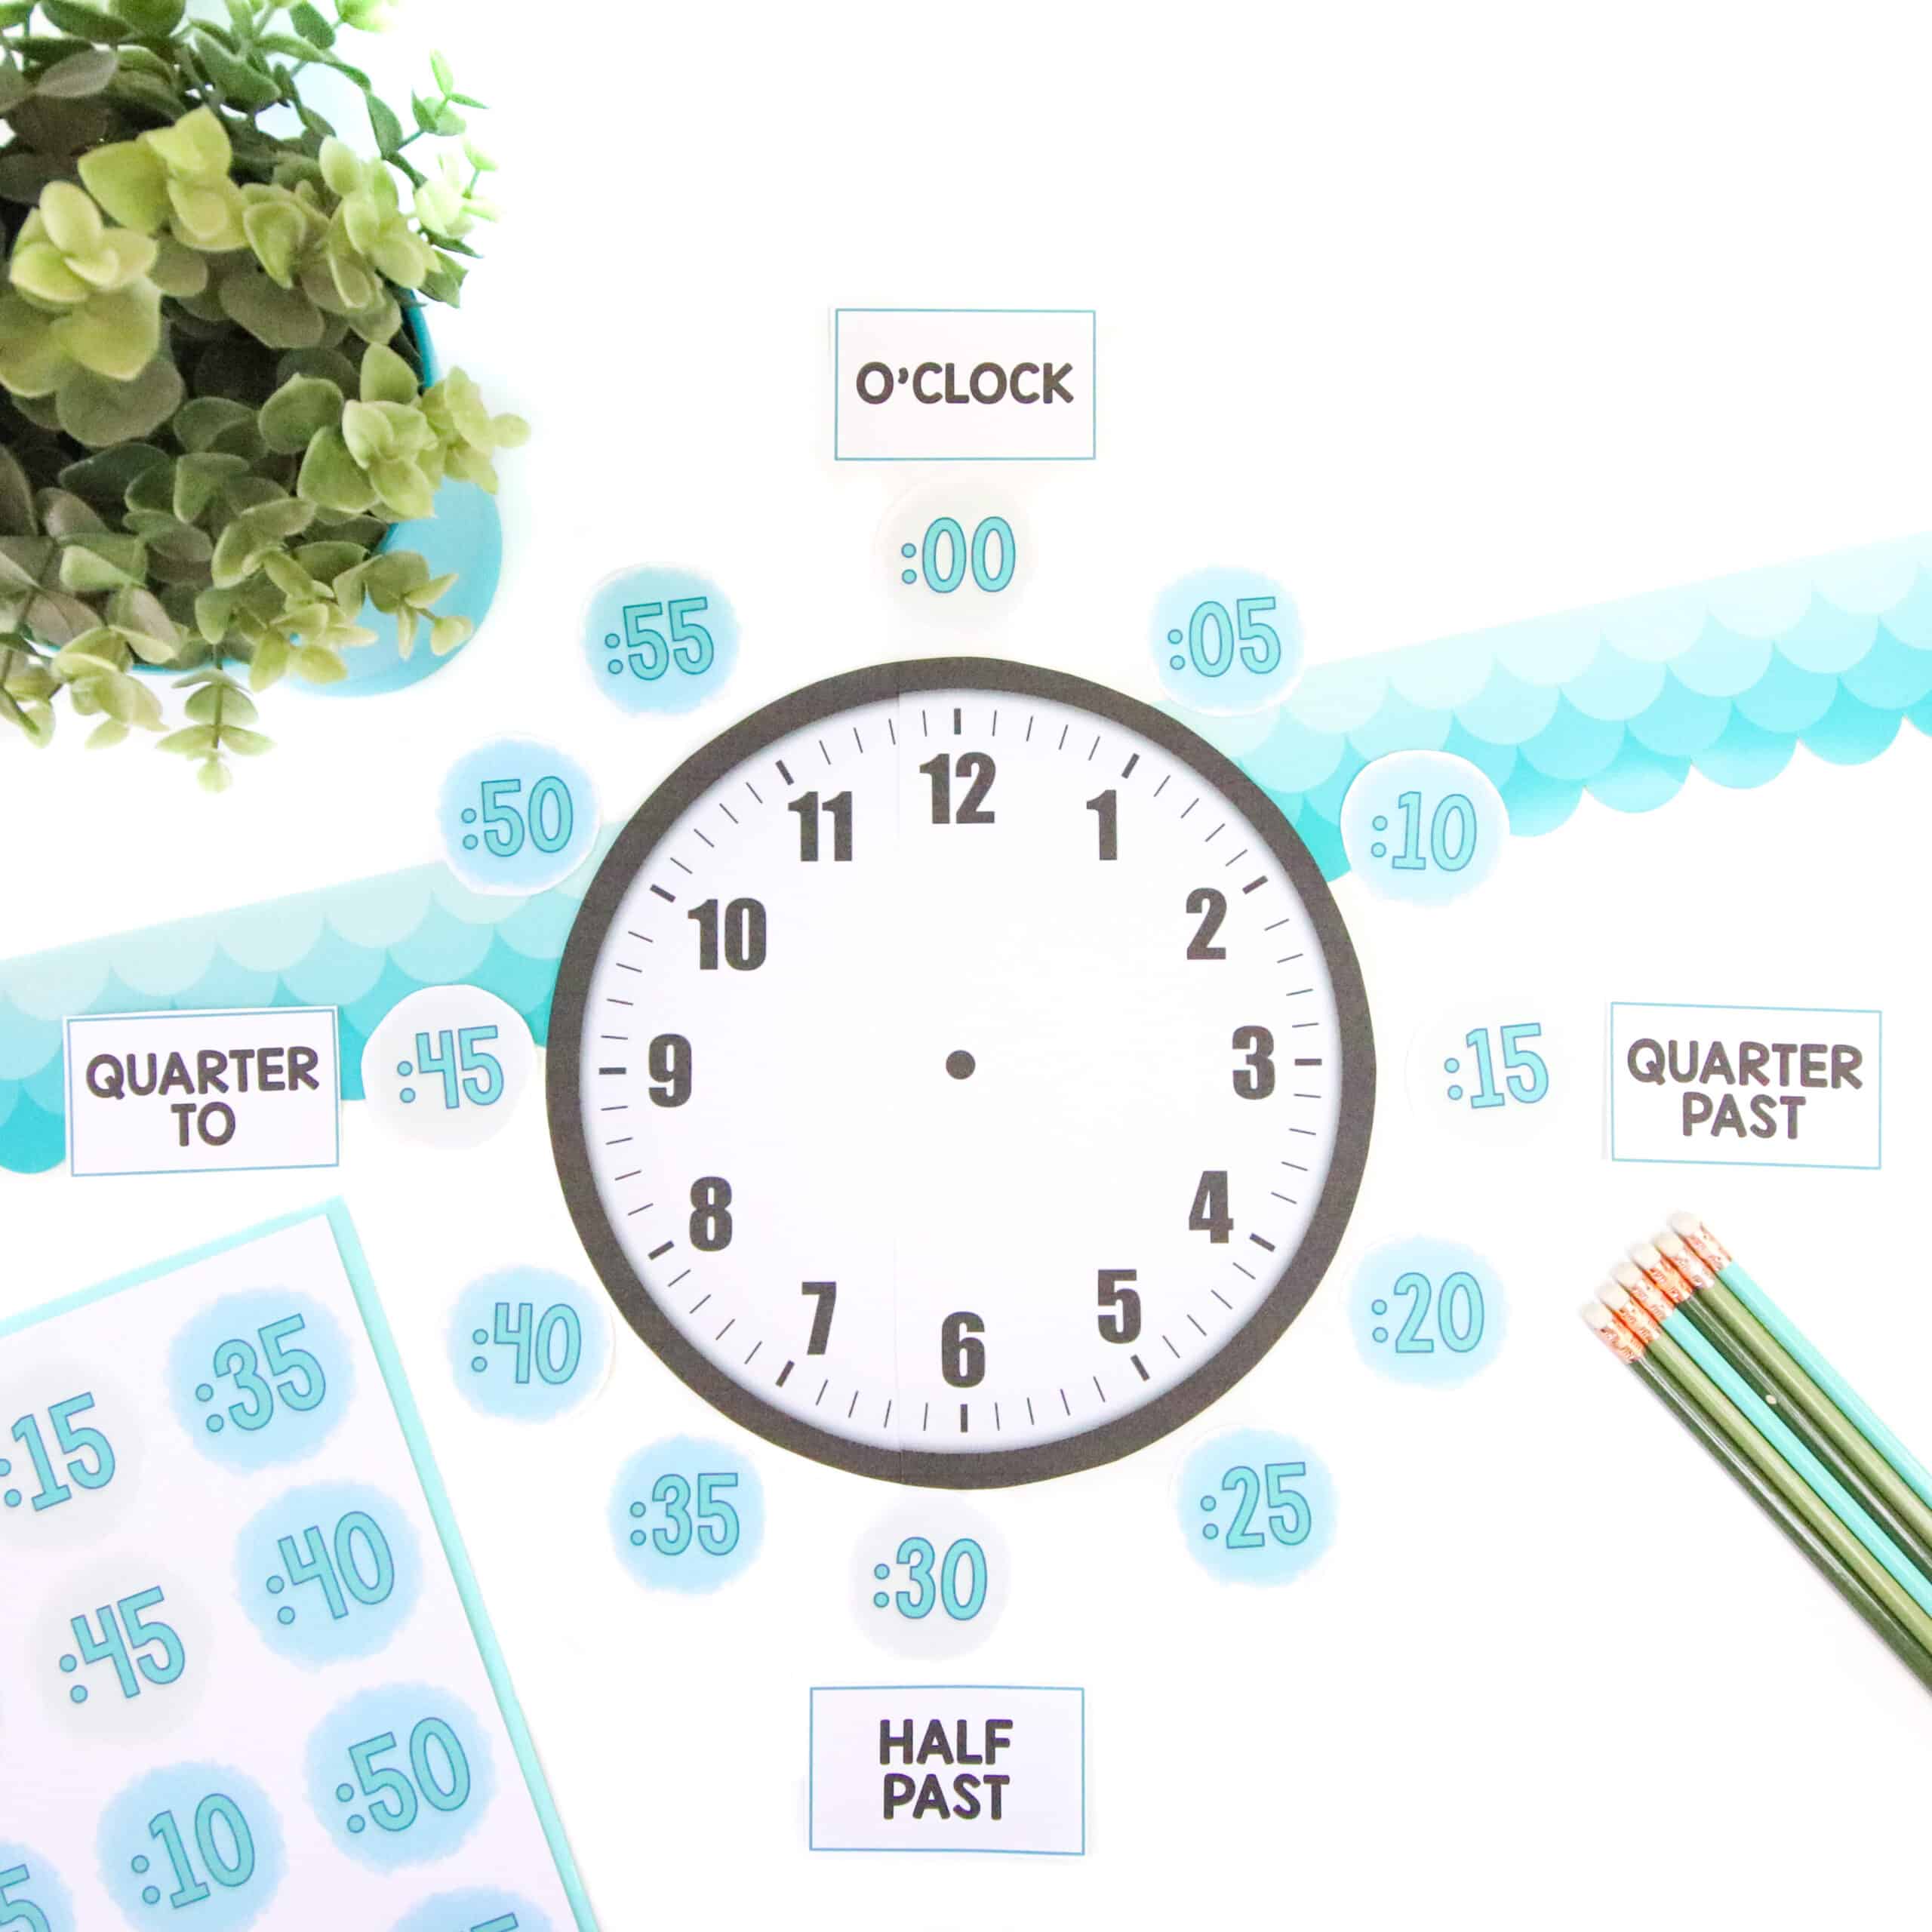
You may find you don’t need an entire bin for your shorter seasonal units. If you want to avoid a cluttered file cabinet, you may want to opt for clip-top boxes like these. Creating files for these short seasonal activities and keeping them in bins labeled by month makes it easy to pull the quick fun activities you might want to squeeze in for each season.
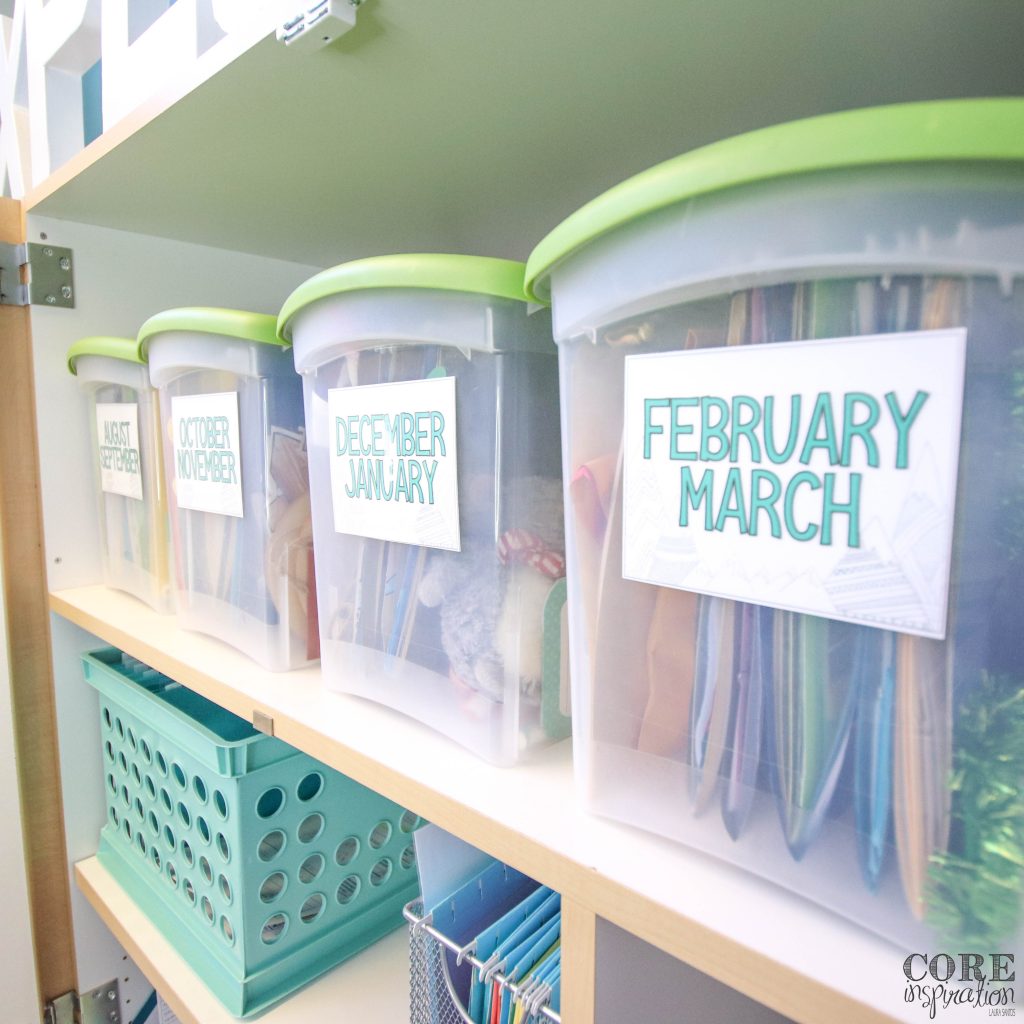
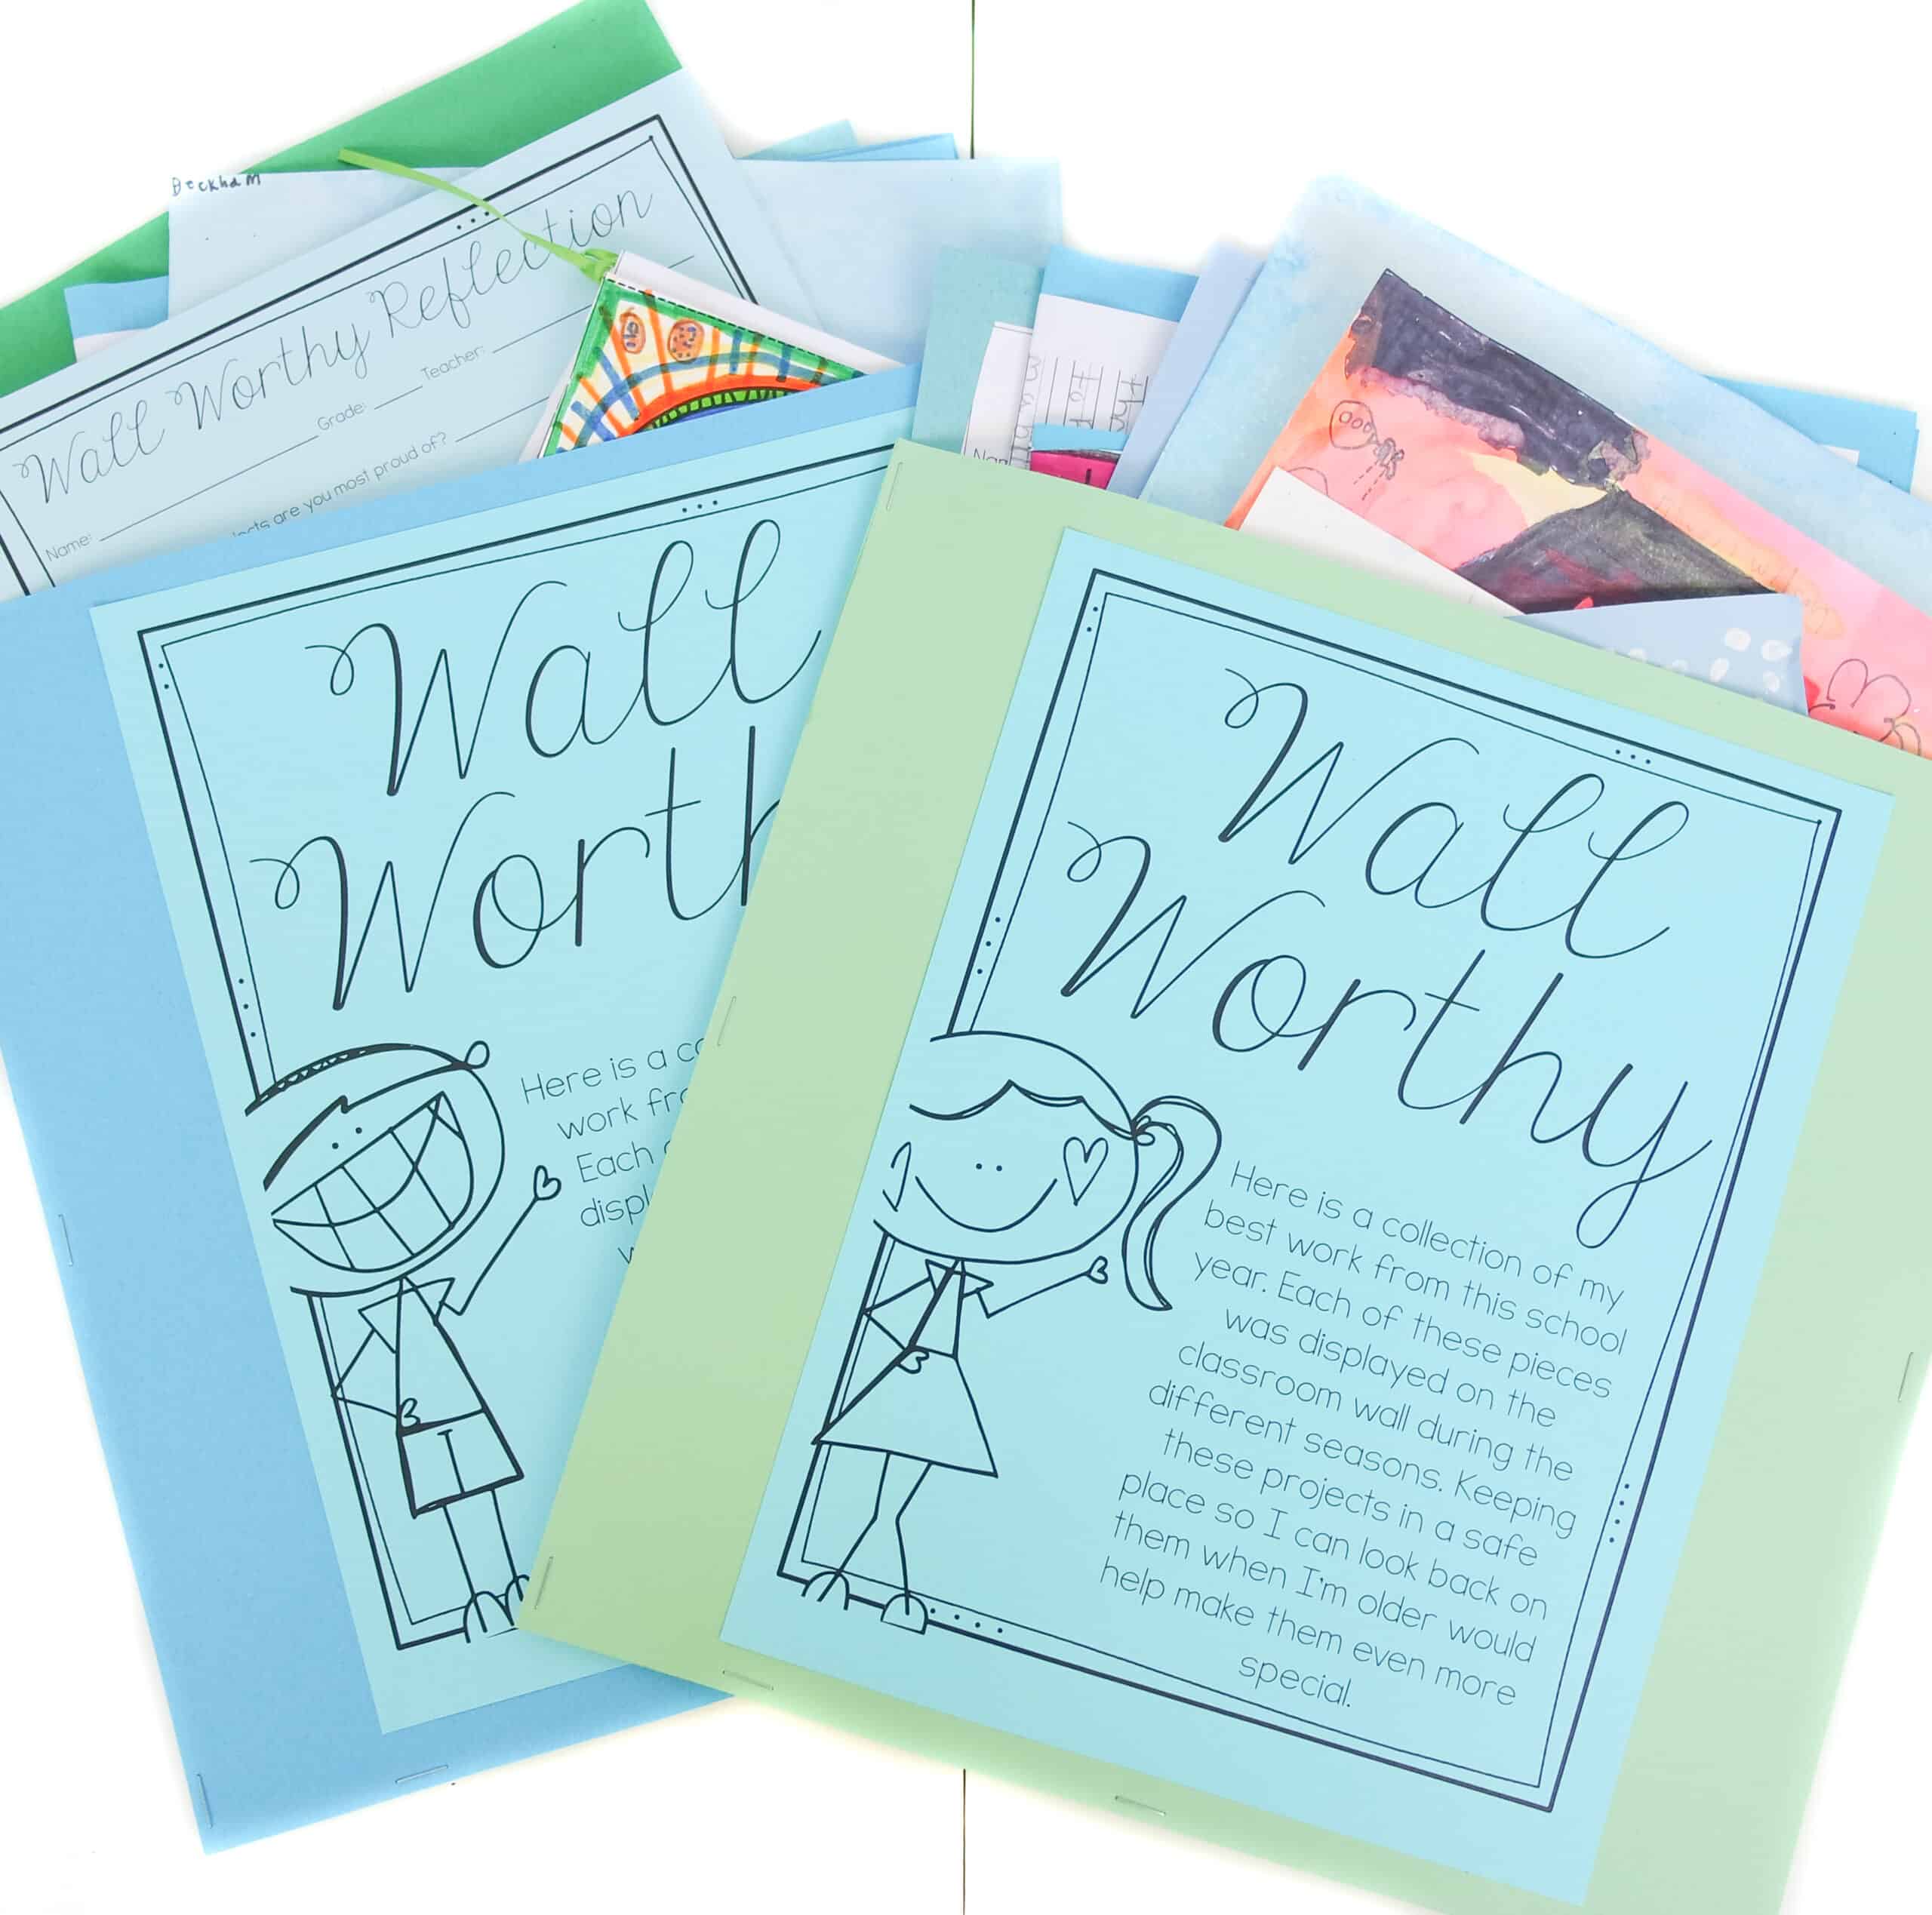
These bins are also perfect for protecting art project samples because they give more wiggle room and protection than a squished file cabinet. Most art projects stay nicely protected in a simple file folder, while other more fragile projects may be better served in a plastic bag that adds an extra layer of protection.
Start Organizing Your Teacher Resources Today
If you are ready to minimize paper clutter in the classroom and keep your unit resources more organized, start with these four categories. With these organization routines in place, there is less opportunity for paper clutter to accumulate, leaving more room for your students to work in your classroom.
If you’re interested in using the same bins I’ve featured in this post, use the links below to take a closer look:
- Iris 4”x6” photo boxes
- Sterilite large clip-top boxes
- Sterilite bins with handles and latches
- Bookends (similar to those pictured)
This post contains Amazon Affiliate links to make it easier for you find the organizational tools shared in this post. To see all my favorite Amazon finds, visit my Amazon Influencer page here.


8 Responses
I think this was a really useful email. I am going to buy more of those bins and organize my units. Thanks:)
Thank you Elena. 🙂
I bought some sterilite bins to organize my unit materials. Do you have the labels you used for academic units?
I love how organized you are. Did you you buy a few at a time? These bins aren’t cheap!
Hi Amy,
Yes, I bought the bins in four batches. 🙂 Agreed – they’re pricey, but really help with the organization!
Warmly,
Laura
I have several skinny, shallow drawers and now I know how to utilize them—with those containers! Thanks for the inspiration.
I am declutterring and this is very helpful! I like your idea of using bins for each month or two. Saves a lot of time hunting for stuff and sometimes I forget I have something that would have been perfect for a lesson. Thanks for sharing! 👍🏻
Thank you!!!