This summer, I will be releasing all 20 Teacher Creator’s Toolbox videos here on the Core Inspiration blog. Teacher Creator’s Toolbox is a comprehensive guide to help you succeed as a seller in the TPT marketplace. If you are interested in watching these video tutorials in chronological order, visit my video index here.



What You’ll Learn
(00:17) Why Bringing Resource To Life Is Valuable
(00:29) Where To Add Photos
(00:45) Where To Find Photos
(01:34) Rules To Consider When Adding Photos To Resources
(03:07) Why Adding An Edited Photo Works Best
(03:40) Free Photo Editing With PicMonkey
(05:05) A Closer Look At PicMonkey’s Tools
(05:40) Adding Text To Photos
(06:19) Adding A Watermark To Photos
(07:00) Adding A Polished Photo To Your Resource
(07:52) The Many Benefits Of Adding Photos To Your Resource
Tool 11 Transcript
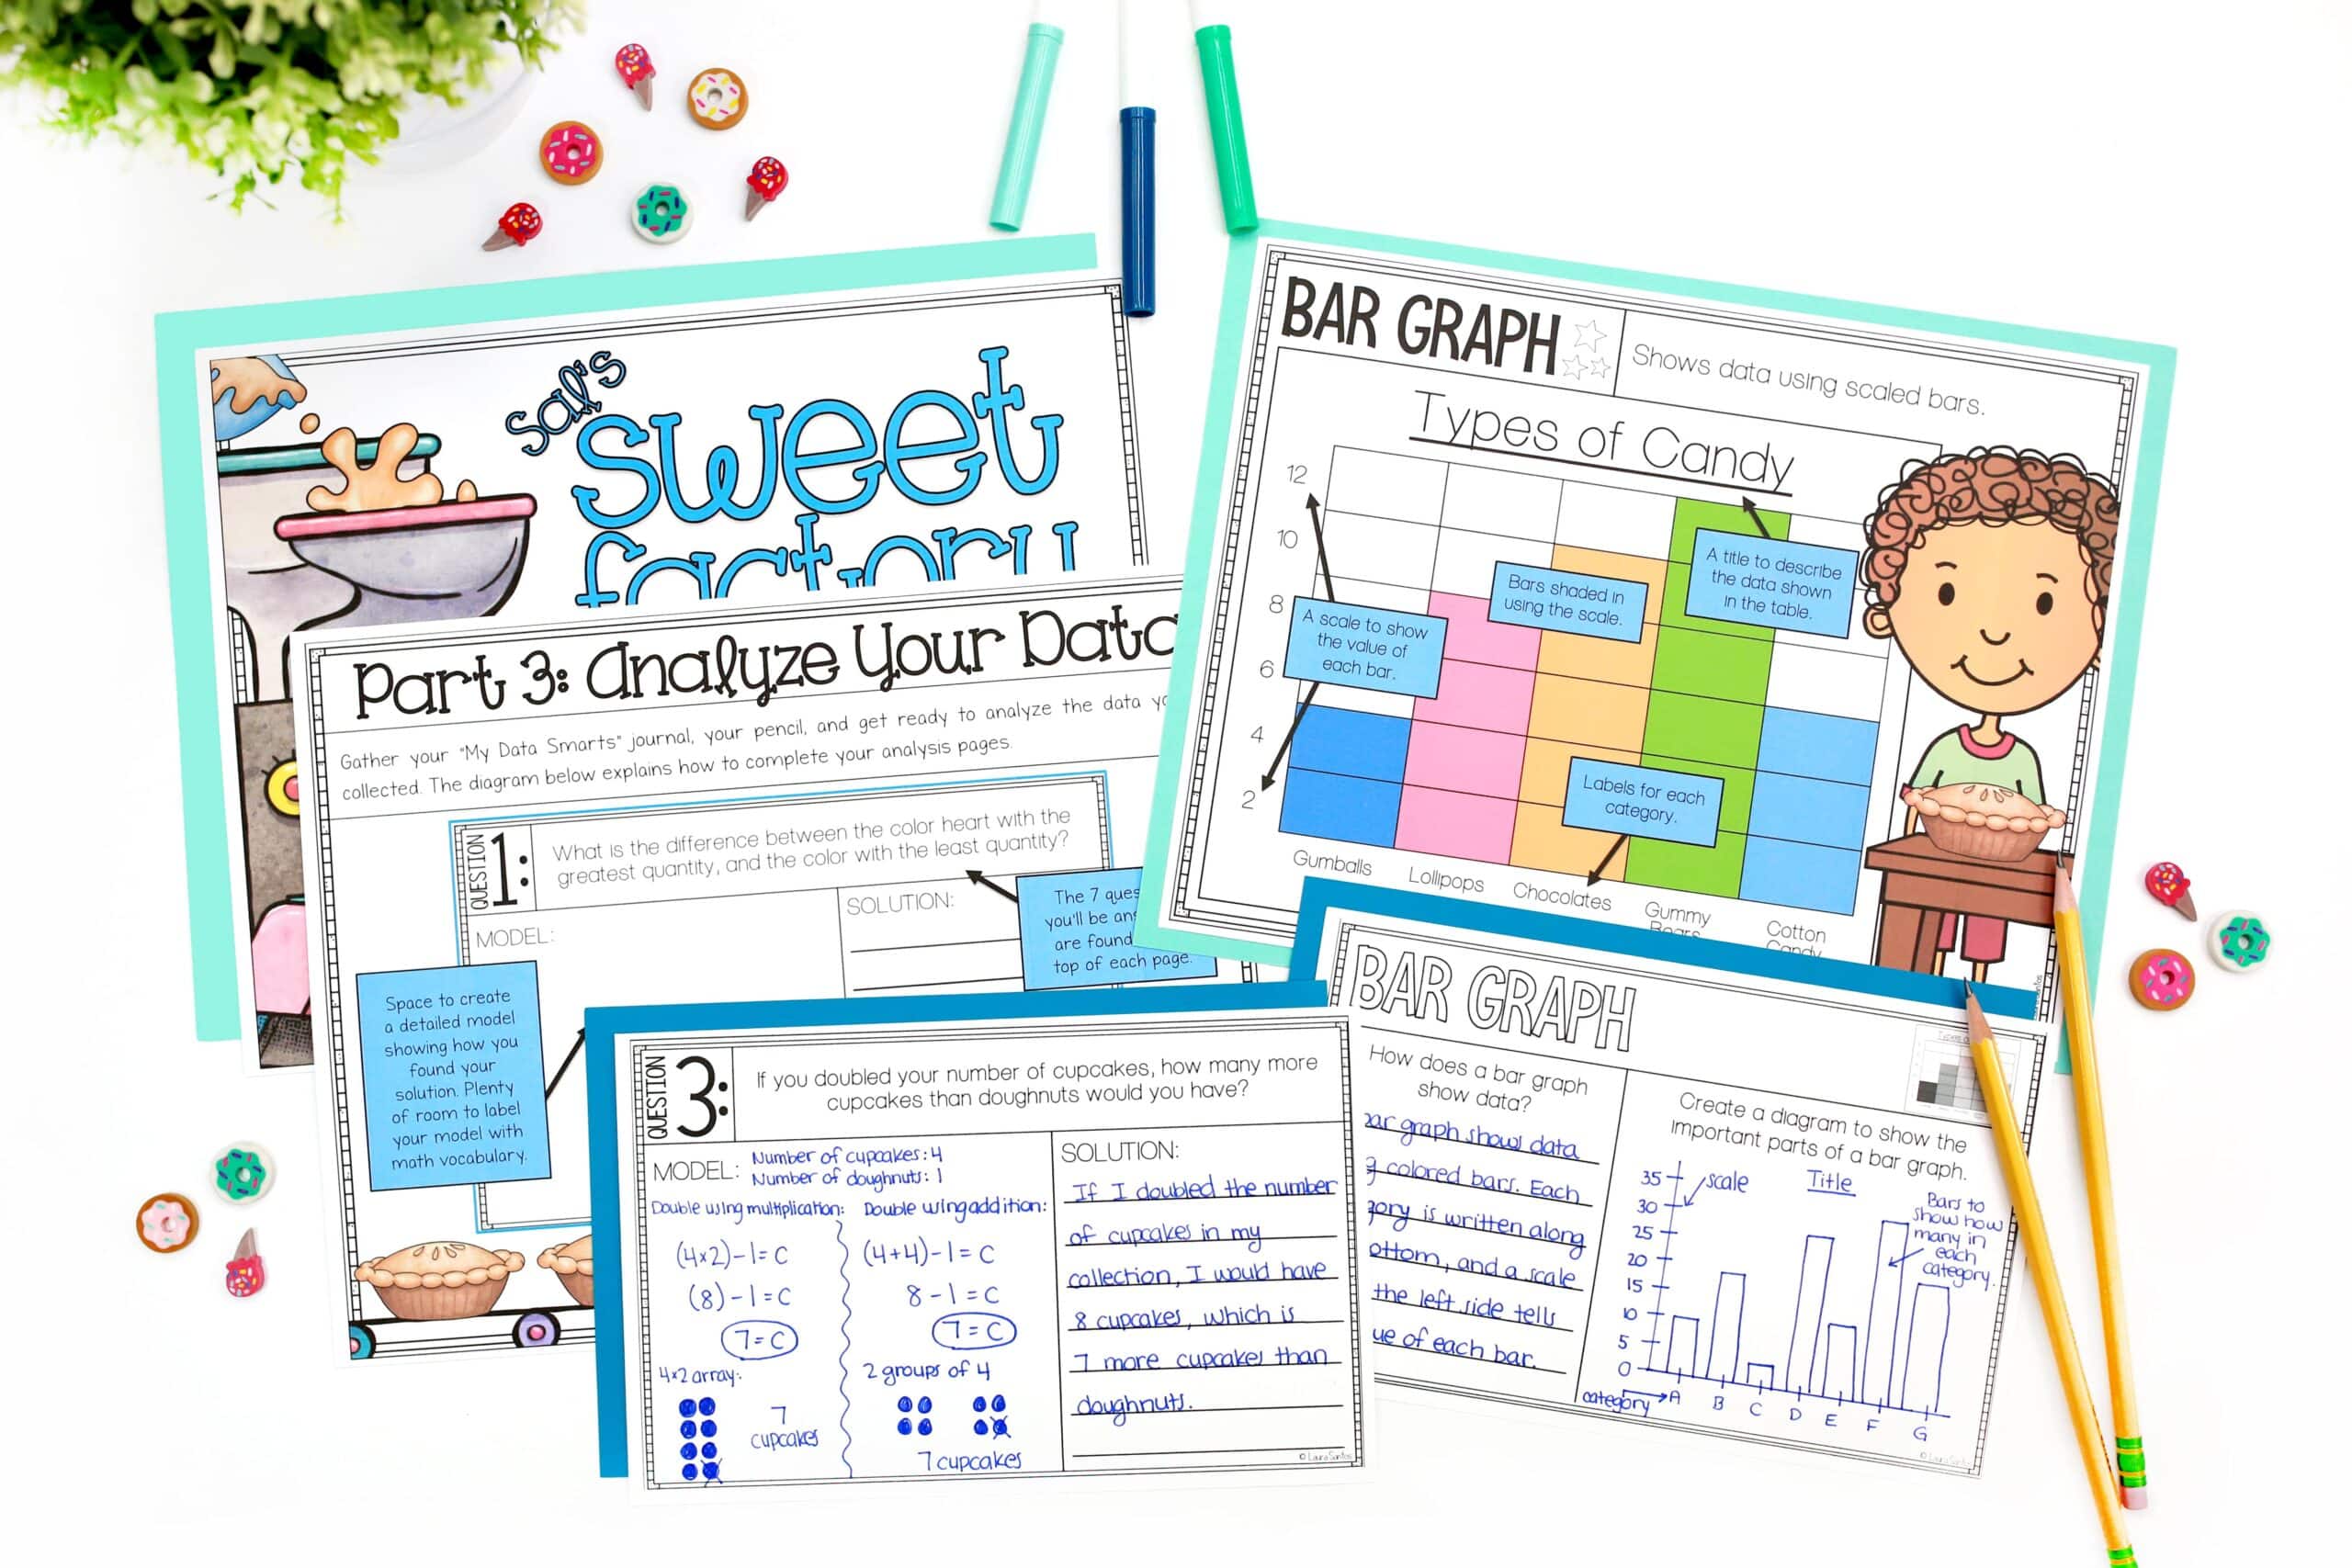
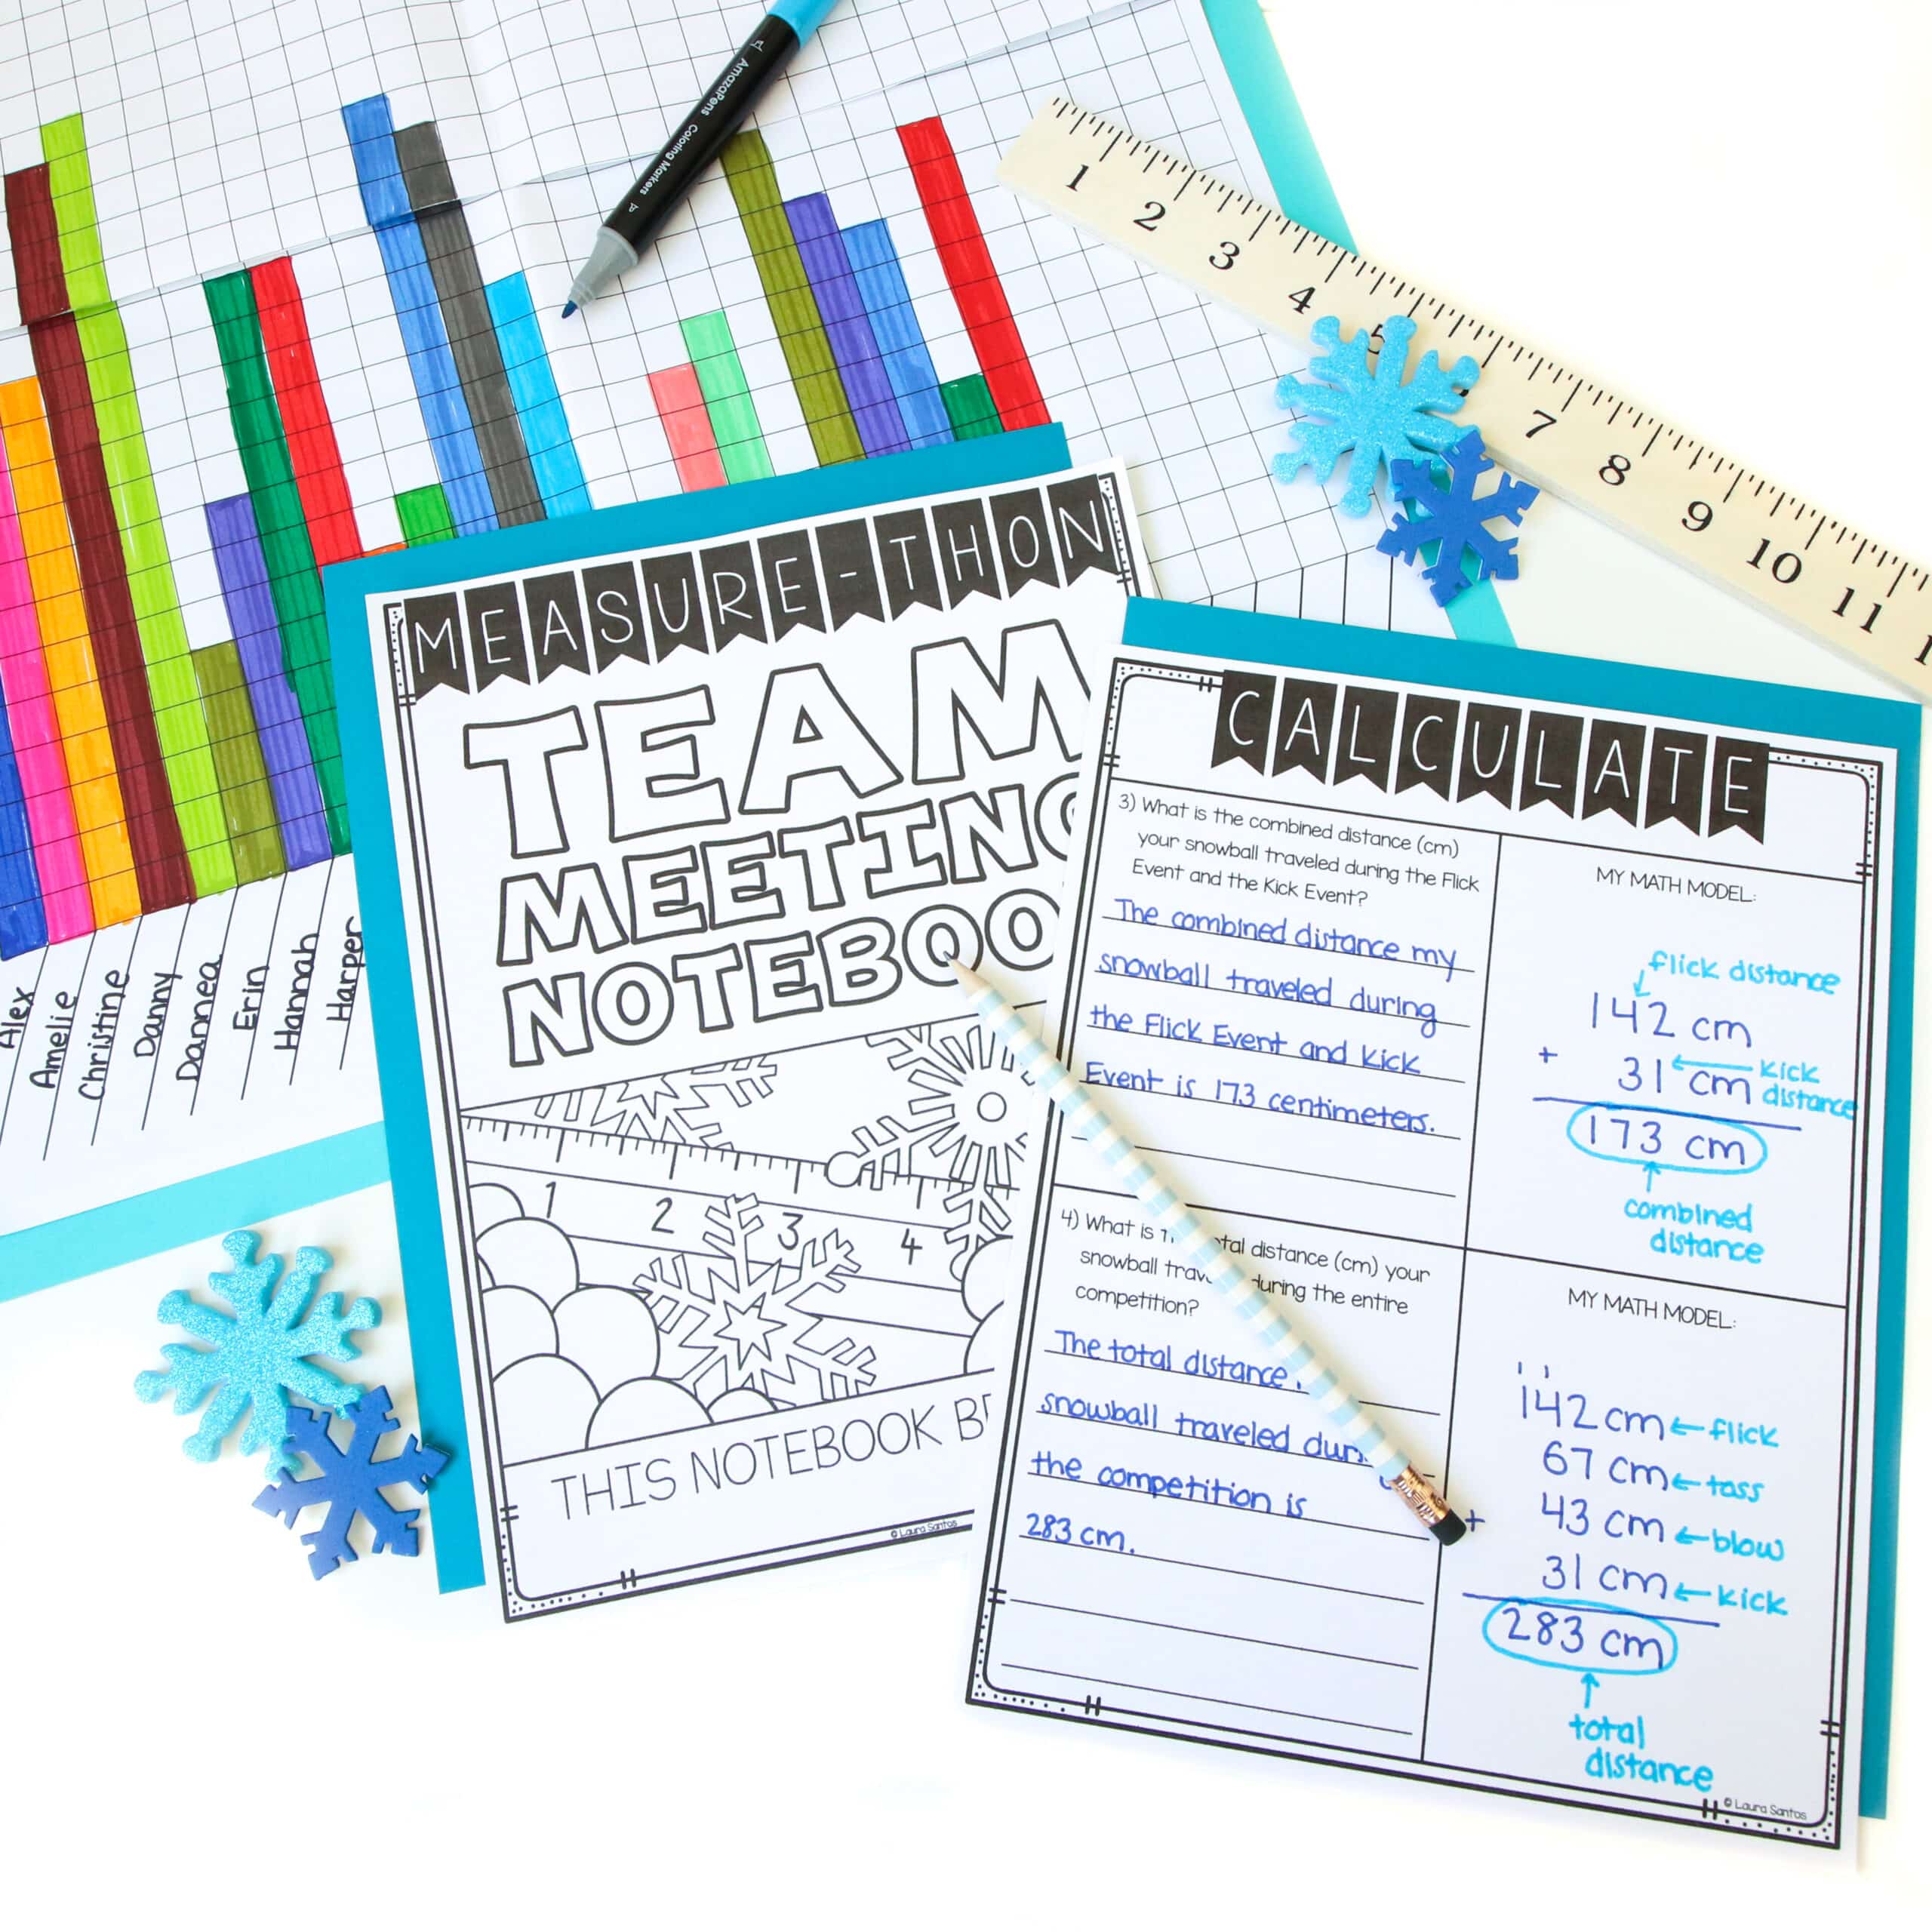
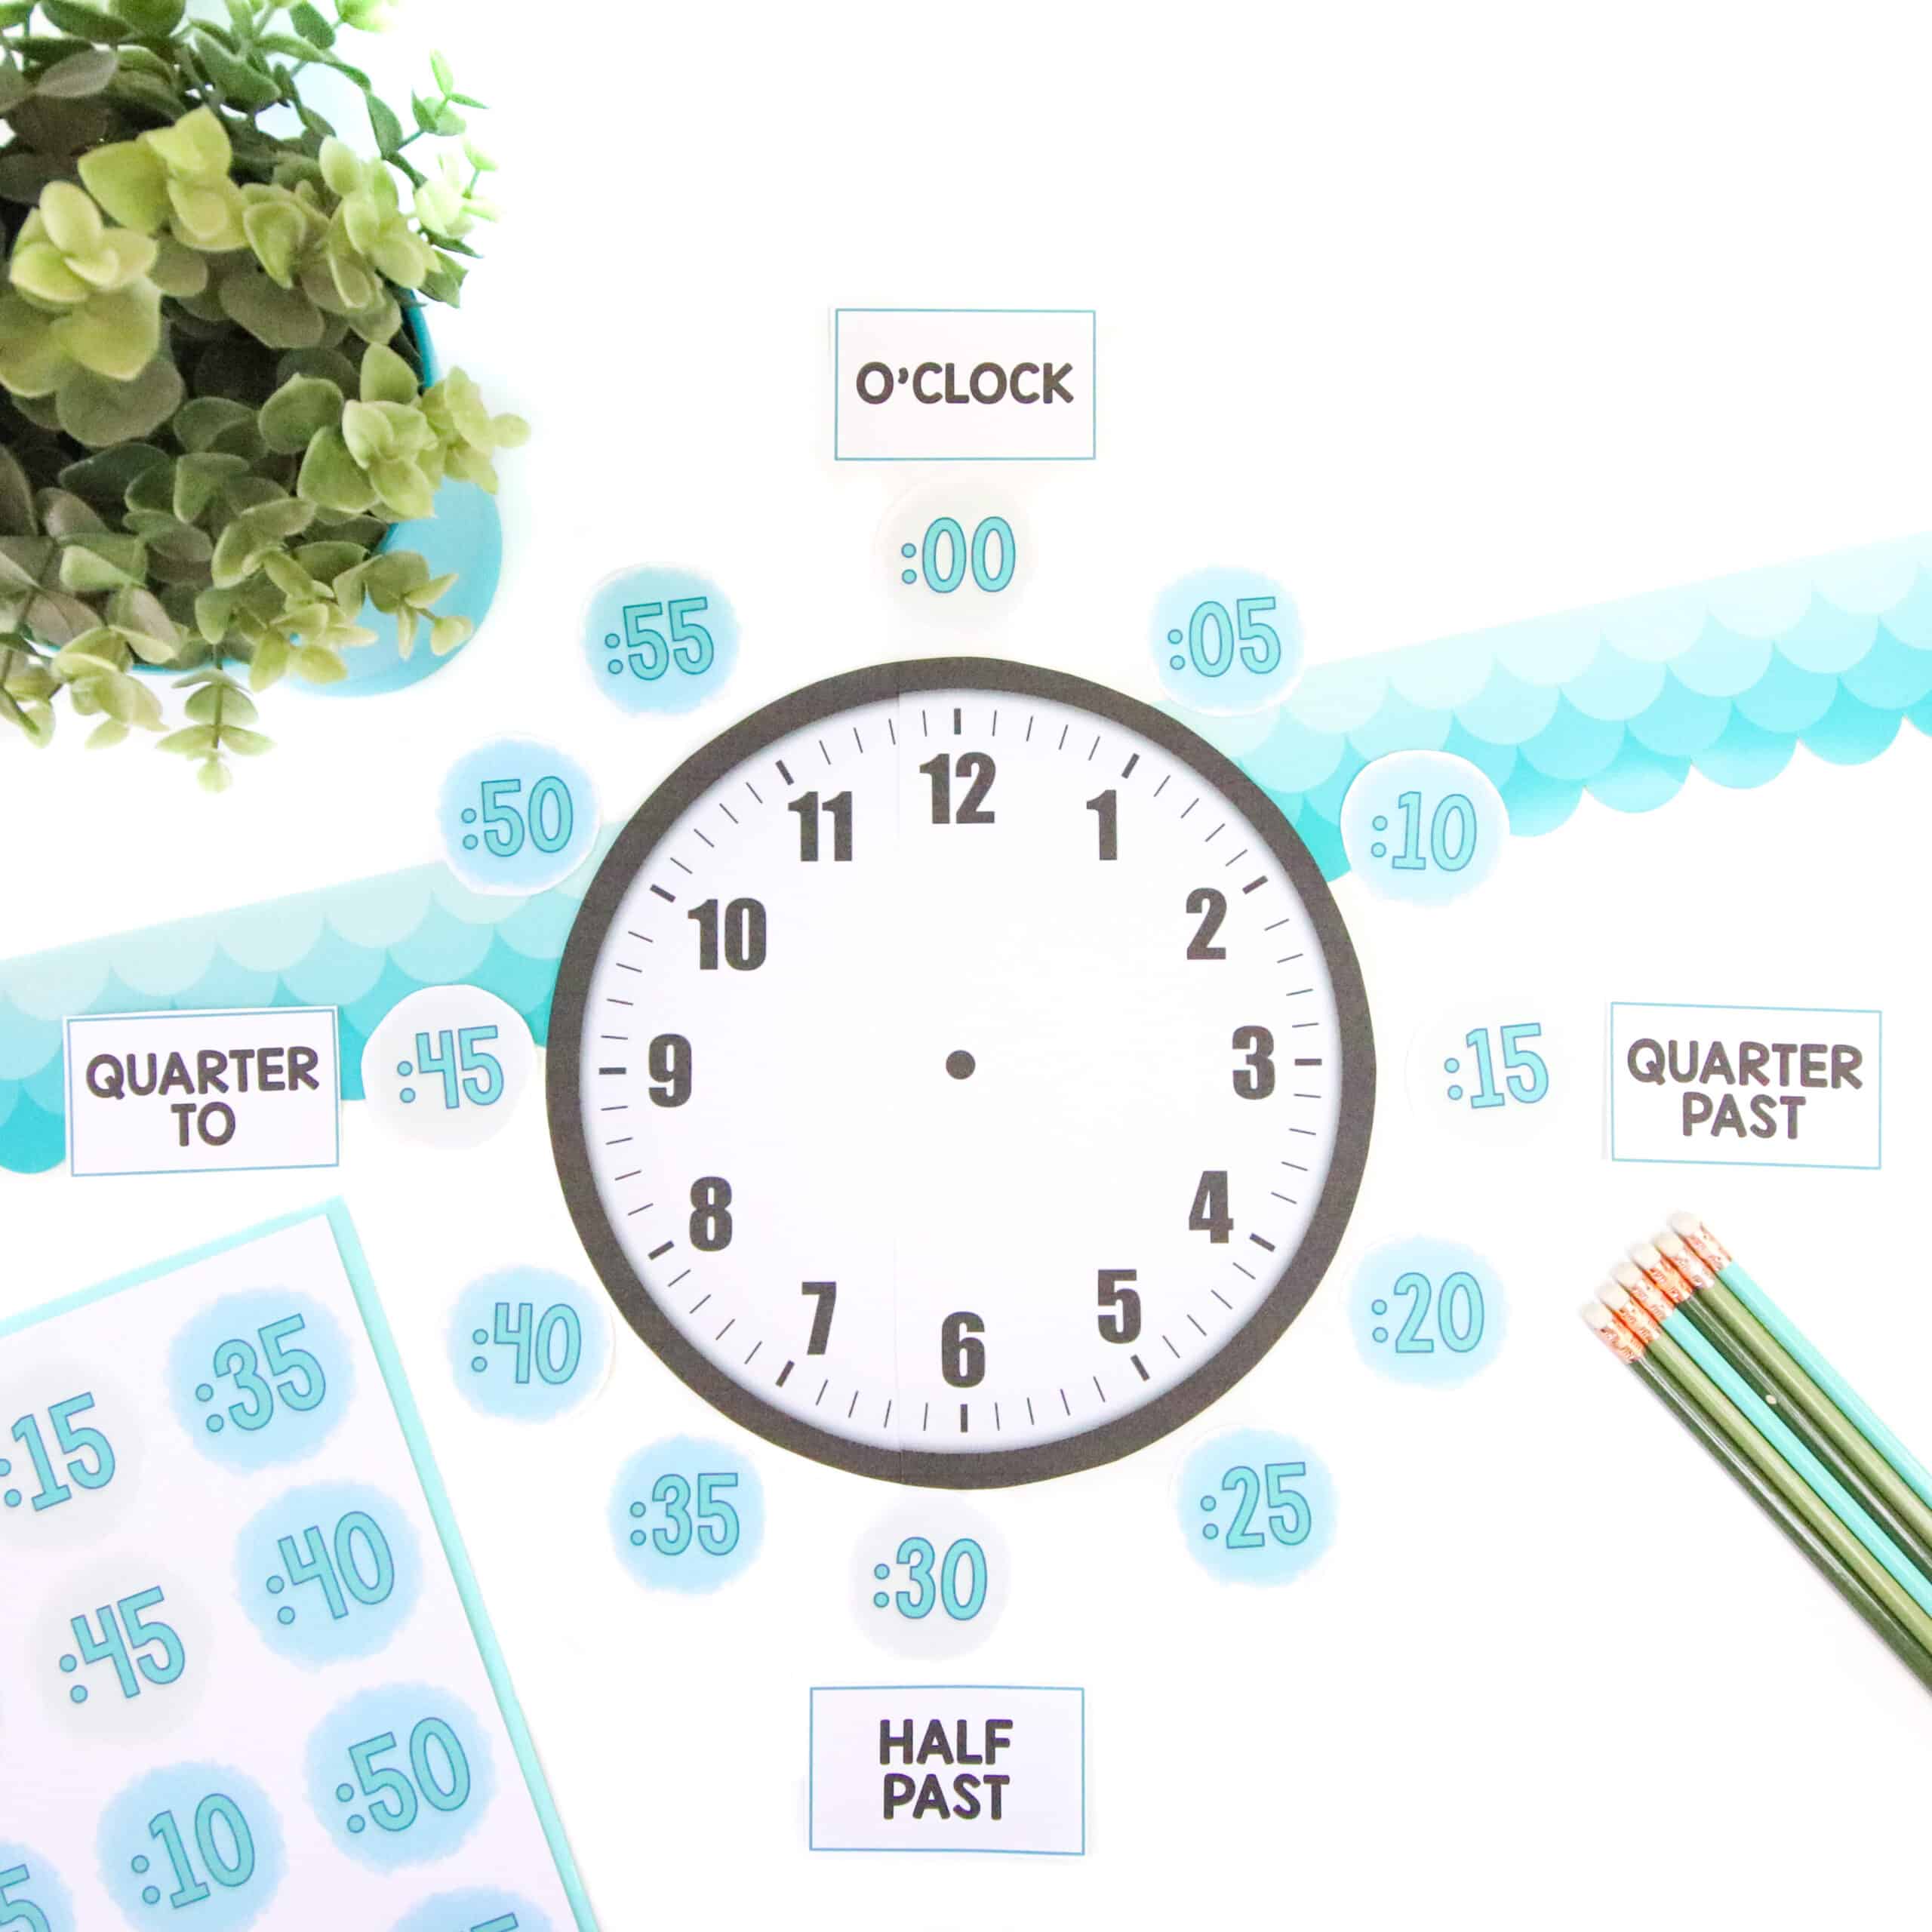
In this tutorial, you will learn how to bring your resources to life using photos. One of the best ways to help your resource stand out among the competition is to print the resource, set it up and have a photo shoot! When you take photos of your products, you can incorporate them into your cover pages, your product previews, and create pins. Some teacherpreneurs even incorporate their photos into the content of the resource to help students understand a concept.
When doing so, it is important not to use photos from Google or even from sharing websites like Creative Commons. Although photos from these sources can be used for educational purposes, they are not permitted for commercial use.
If you don’t fancy yourself as a photographer, you can purchase a license to use royalty-free images and photographs from sites like iStockphoto, Adobe Stock, or Shutterstock. This works very similarly to buying a set of clip art, but is often more expensive.
Certainly the most personalized and cost-efficient option is to take your own photos. If the lighting is right, photos taken with your camera phone often work quite well for this purpose.
Below are a few rules I follow when incorporating photos into resources.
Do Not Use Photos Taken During your contract teaching hours
Any classroom photos you see in my resources or pins are taken during the summer months before contracted work begins or outside of my contract hours during the school year. As mentioned in the legal tools – I am a real stickler when it comes to separating my teacherpreneur endeavors from my contracted teaching time. I never want to run the risk of those two very important aspects of my professional life conflicting.
Never include photos of students in your resources
This goes without saying if you stick to rule one, but if you feel comfortable crossing those two paths, I highly discourage you from including photos of your students in your resources. There are many legal risks associated with this unless you have a signed contract from a student’s parent or guardian giving permission to include their child’s photo in content available for sale on the internet.
Use your own equipment to take photos
This goes back to the legal tools again . You should not use district-owned equipment to benefit your progress as a teacherpreneur. Most districts require teachers to sign a contract stating that district equipment is not intended for personal or commercial use.
Preparing Photos For Your TPT Products
Now that we’ve covered all the important serious stuff, let’s focus on getting creative. Once you have your photo uploaded to your computer, it’s time to polish it up for its debut.
Although simply adding the photo itself to pins, previews, and cover pages will certainly attract instant attention, adding a few finishing touches will make your photo look professional and help build your brand awareness when your image is seen out of context on Pinterest and in Google image search results.
My favorite tool for getting the job done is the wonderful website PicMonkey. First of all, the site’s name and logo are adorable…second…it’s free! A paid membership (or as PicMonkey calls it A Royale Membership) is available if you want more options but you can do so much for free. It’s absolutely amazing.
When you get to the site, you will see a few options near the top of the home page. My favorites are edit, design and collage. Touch up is great for pictures with people in them, which you know I avoid.
The site is fairly intuitive so I am not going make this a 30-minute tutorial and show you every tool available.
Edit allows you to edit a single photo.
Design allows you to create an image from scratch without a photo as it’s base layer.
Collage allows you to select a layout and add multiple photos. Once you have the photos you want in the collage, it will allow you to enter edit mode to add text, color backgrounds, and overlays.
Editing Photos Using PicMonkey
I am going to show you a few of the most important tools using the edit mode. I will click “edit”, then choose the source I want to grab my photo from. I will get mine from my computer. The image will appear in the editor and I can get to work. You can make many modifications like coloring and cropping, adding photo effects and touch ups.
Most important to you will be adding text and overlays.
To add text, I will click the text icon, then click “add text”. A text box will appear. The crown stands for royale feature. As you can see, there are plenty of free features available. Once I click the font I want, I will type my message.
I will then click out of the text box and click it again so the outline appears. I can then adjust the color or change the font if I want and reposition it.
Adding Your Logo or Watermark to Photos
Another handy feature is the overlays tool. The option I use most is “your own”.
This allows me to add my brand watermark to all of my images so they are always connected to my store and blog when they are floating around on the internet.
For more information about logos and watermarks, watch Branding Tool 18.
After clicking “your own”, I will scroll through my files and find my watermark, then click “choose”. The watermark will appear on the image and I can click to outline it so it can be repositioned and resized.
There are many other features available for editing you photos but I will let you tinker around with them. When you have a design you like, click “save”. You can then name you file, select the image quality, and click “save to computer”. Then select a location where you want to save the image and click “save”.
Adding Photos To Your PowerPoint Resource
You can then head back to your PowerPoint resource document and insert the finalized photo with watermark included into your resource. To do so, follow the steps below:
- Click “home”
- Click “picture”
- Scroll down and select “picture from file”
- Find the image and click “insert”
You can then adjust the image and add additional text to explain what the image shows if you prefer.
Another great thing about taking the time to edit the image is it can now double as a pin for this product. Tool 16 will teach you how to upload pins that are high-resolution so images like this display larger on the pinner’s screen, encouraging them to click through to your product page.
Educating Your Customers With Photos
Adding photos to your products is great for helping potential customers visualize how the resource can be used in their classroom. It’s a great enhancement to your product previews and pins because it shows a real life look at what customer will get when they make a purchase. The more educated a potential customer is about the contents of your resource, the more confident they will feel making a purchase. Photos are a great way to establish that confidence.
Up next, in the final design tool, I will show you how to bring all the previously introduced design skills together to create resource cover pages that pop!

