This summer, I will be releasing all 20 Teacher Creator’s Toolbox videos here on the Core Inspiration blog. Teacher Creator’s Toolbox is a comprehensive guide to help you succeed as a seller in the TPT marketplace. If you are interested in watching these video tutorials in chronological order, visit my video index here.


What You’ll Learn
(00:25) Why Add Backgrounds?
(00:46) Adding Backgrounds To Reproducible Resources
(01:17) How To Add a Digital Paper (Patterned) Background
(02:42) Copying Slides With A Background Attached
(03:05) Frames (Not Backgrounds) For Reproducibles
(03:32) Adding Backgrounds and Frames To Reusable Resources
(05:33) Adding Solid Backgrounds To Preview Pages
(06:50) Background Reminders
(07:17) Sharing Favorite Background Artists
Tool 9 Transcript
In this tutorial, I will teach you about using backgrounds in three types of resources – resources with reproducibles, full-color reusable resources, and resource previews.
Backgrounds can really help bring life and style to a resource and are especially effective in adding visual appeal to cover pages.
Much like clip art and fonts, backgrounds can be purchased on TPT, Easy, and are very popular on digital scrapbooking sites (where they are called digital scrapbook paper).
Which Pages Of My TPT Resource Should Include Backgrounds?
When it comes to some classroom resources, especially those with several reproducible pages, it is important to use backgrounds sparingly. My suggestion is to reserve them for the following pages of your resource
- Cover pages
- Resource Overview
- Resource Elements
- Tips for Teachers
- Terms of Use
- Recommended Resources
- Where Credit Is Due
Adding Backgrounds Using PowerPoint
The most effective way of adding backgrounds to a resources made using PowerPoint by selecting the slide you wish to add a background to. You can select multiple slides if you wish by clicking a slide, holding down shift and clicking the last slide in the set you want to add the background to.
Once you’ve selected the slides you want, follow these steps:
- Click “Themes”
- Click “Background”
- Select “Format Background”
- Click “Picture or Texture”
- Click “Picture”
- Locate the digital paper you want to use for your background
- Click “Insert”
- You will then see a thumbnail of the background and it will appear on you actual slide
- Click “Tile” so that image is not stretched
Using Backgrounds On Multiple Page Of A Resource
Of course, there are resources that are an exception to the background-sparing rule. Anything that is intended for teachers to print in color, to laminate, or display using their projector should include a vibrant and eye-catching background that compliments the style and purpose of the resource. A few of these resources include:
- PowerPoint presentations
- Classroom décor resources
- Instructional posters
- Flashcards or task cards
With reusable resources like these, I recommend adding a frame on top of your background to increase the readability of your text.
Once you’ve added a background, simply add frame clip art by clicking “Home” > “Picture” >”Picture from File”, and then locating the frame you wish to add. Click “Insert” and resize the frame.
An alternative to adding a frame is adding a shape to create a simply frame.
Select “Home” > “Shape”, then select the shape you wish to add. Click and drag your mouse on the slide to size the shape. Then click “Format” and edit the color of the fill and the frame to create a simple frame which you can add text on top of using a text box.
Adding Backgrounds To Product Previews
When it comes to designing previews I suggest using backgrounds abundantly. I will give full detail about designing previews in Tool 14 but I want to quickly touch on the fact that the point of a preview is to display the contents of your product in a visually appealing way that doesn’t give the contents away for free.
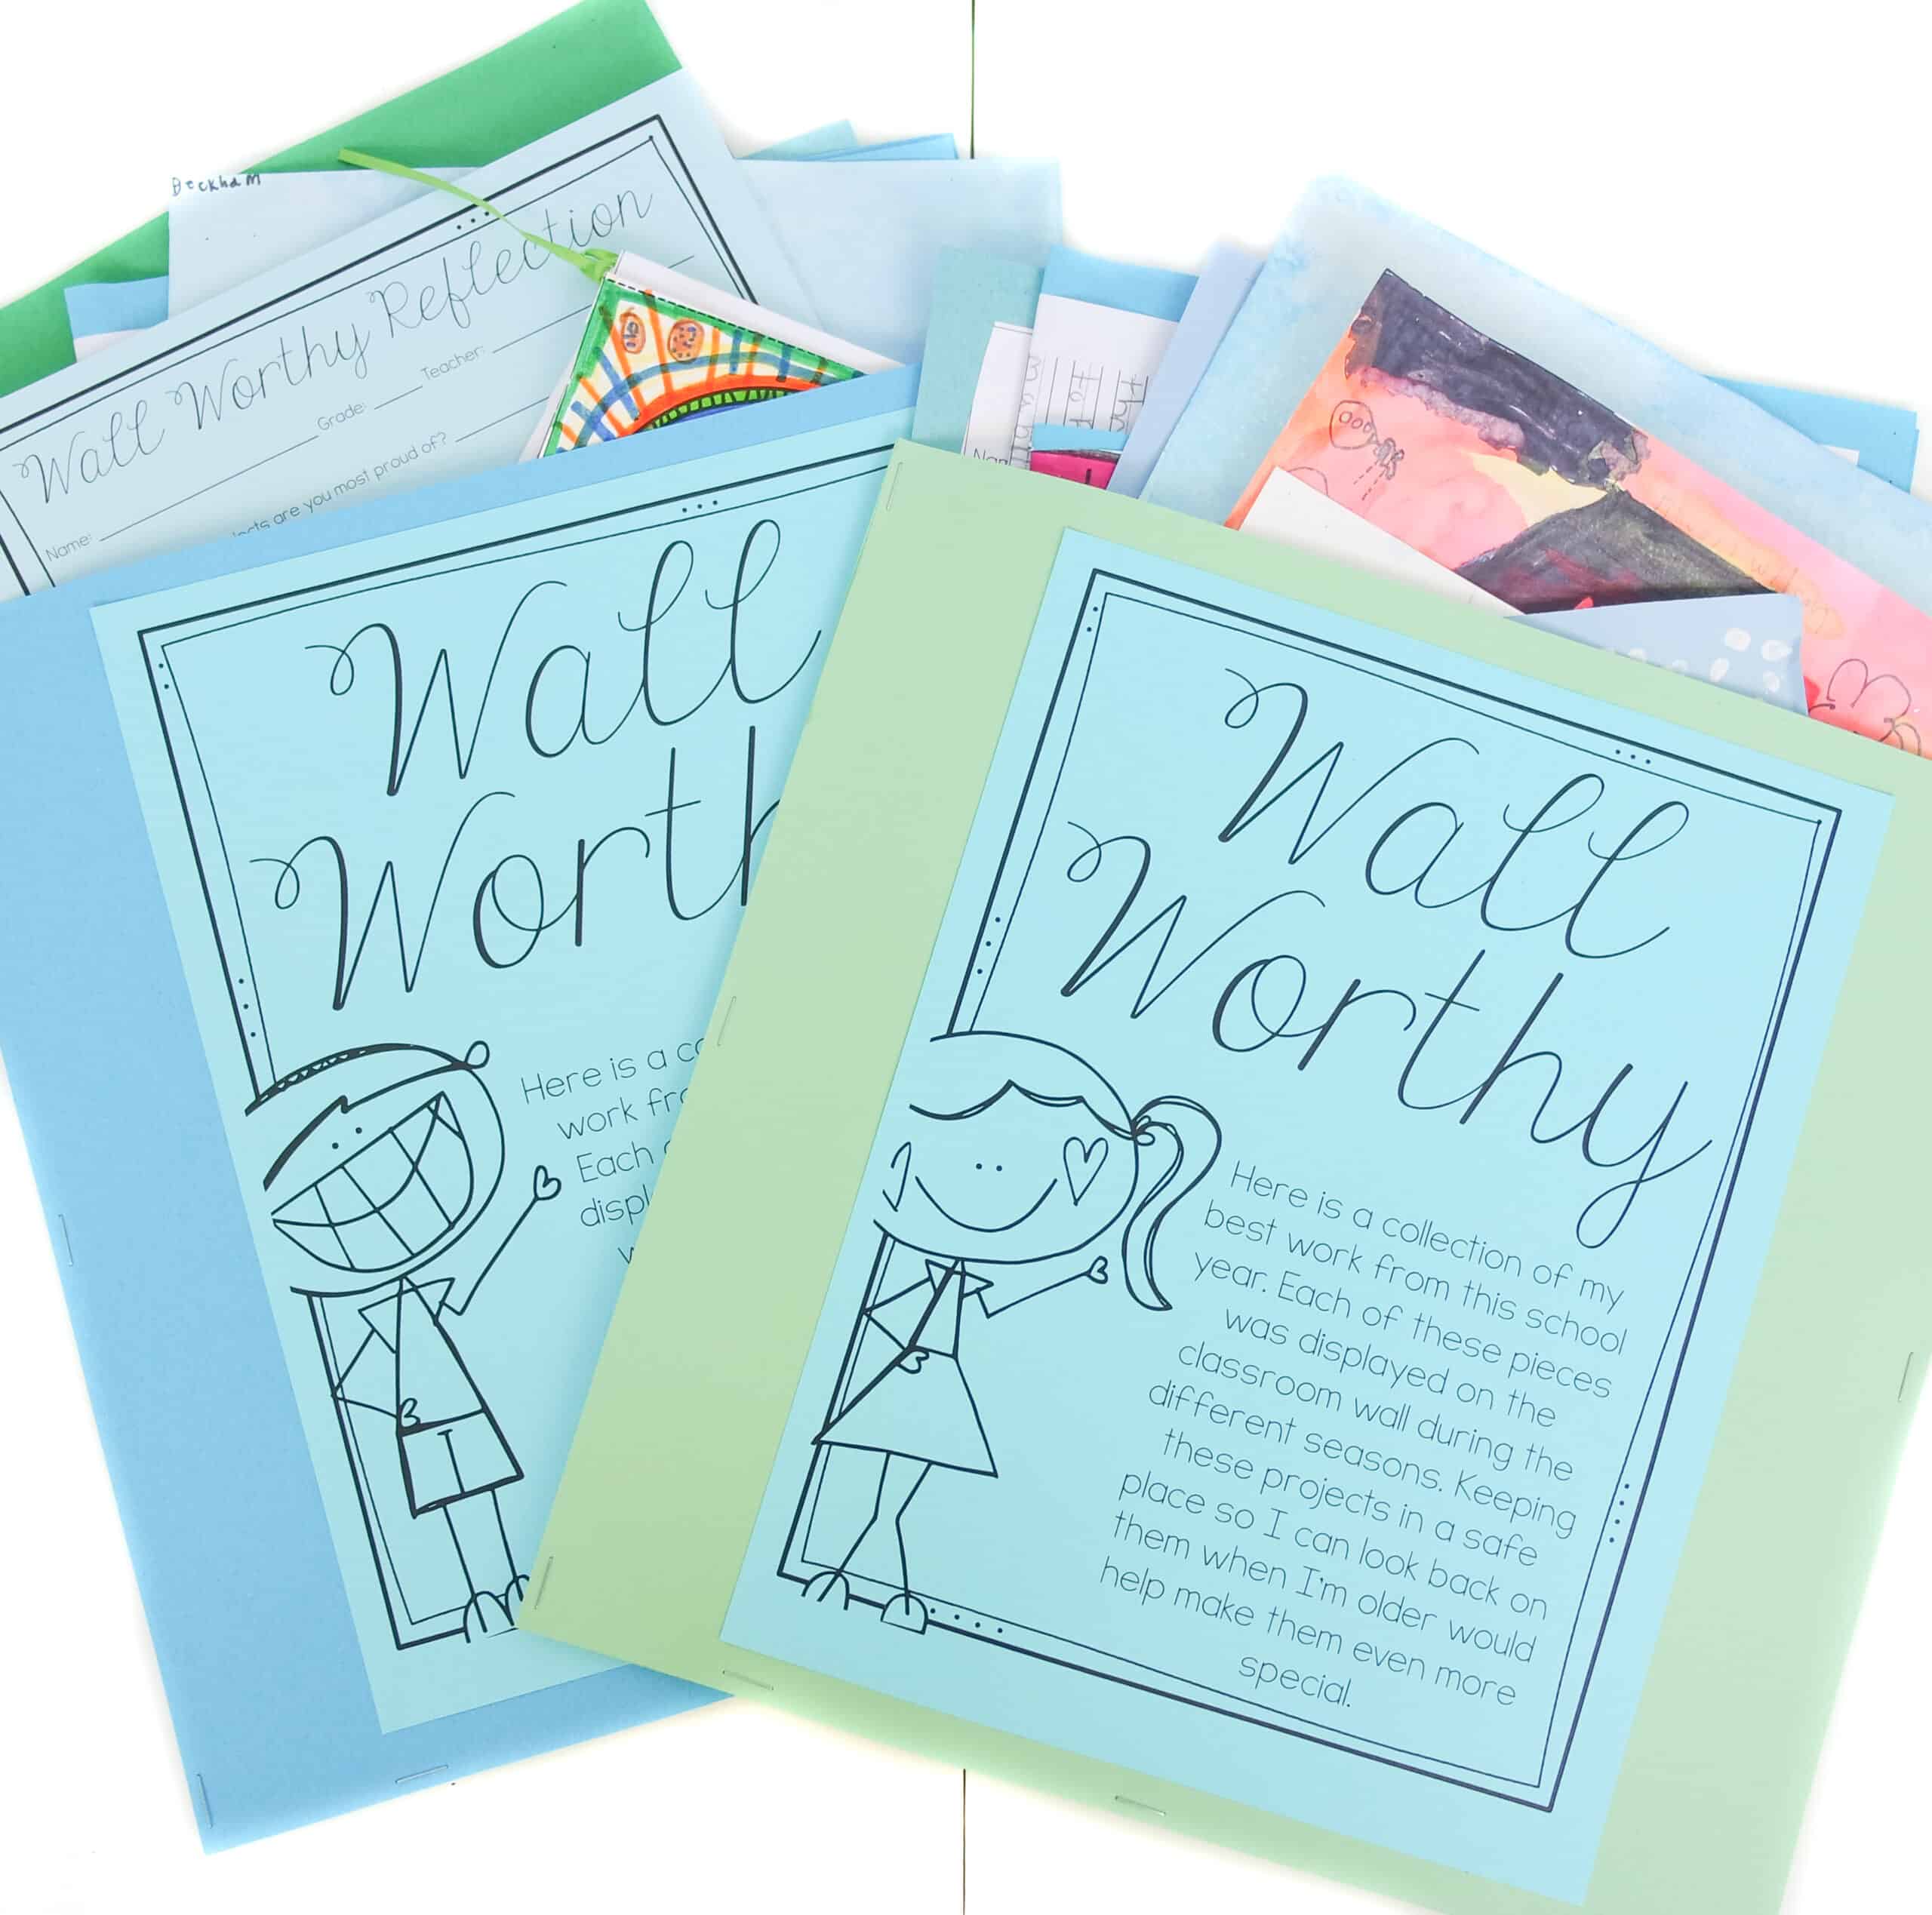
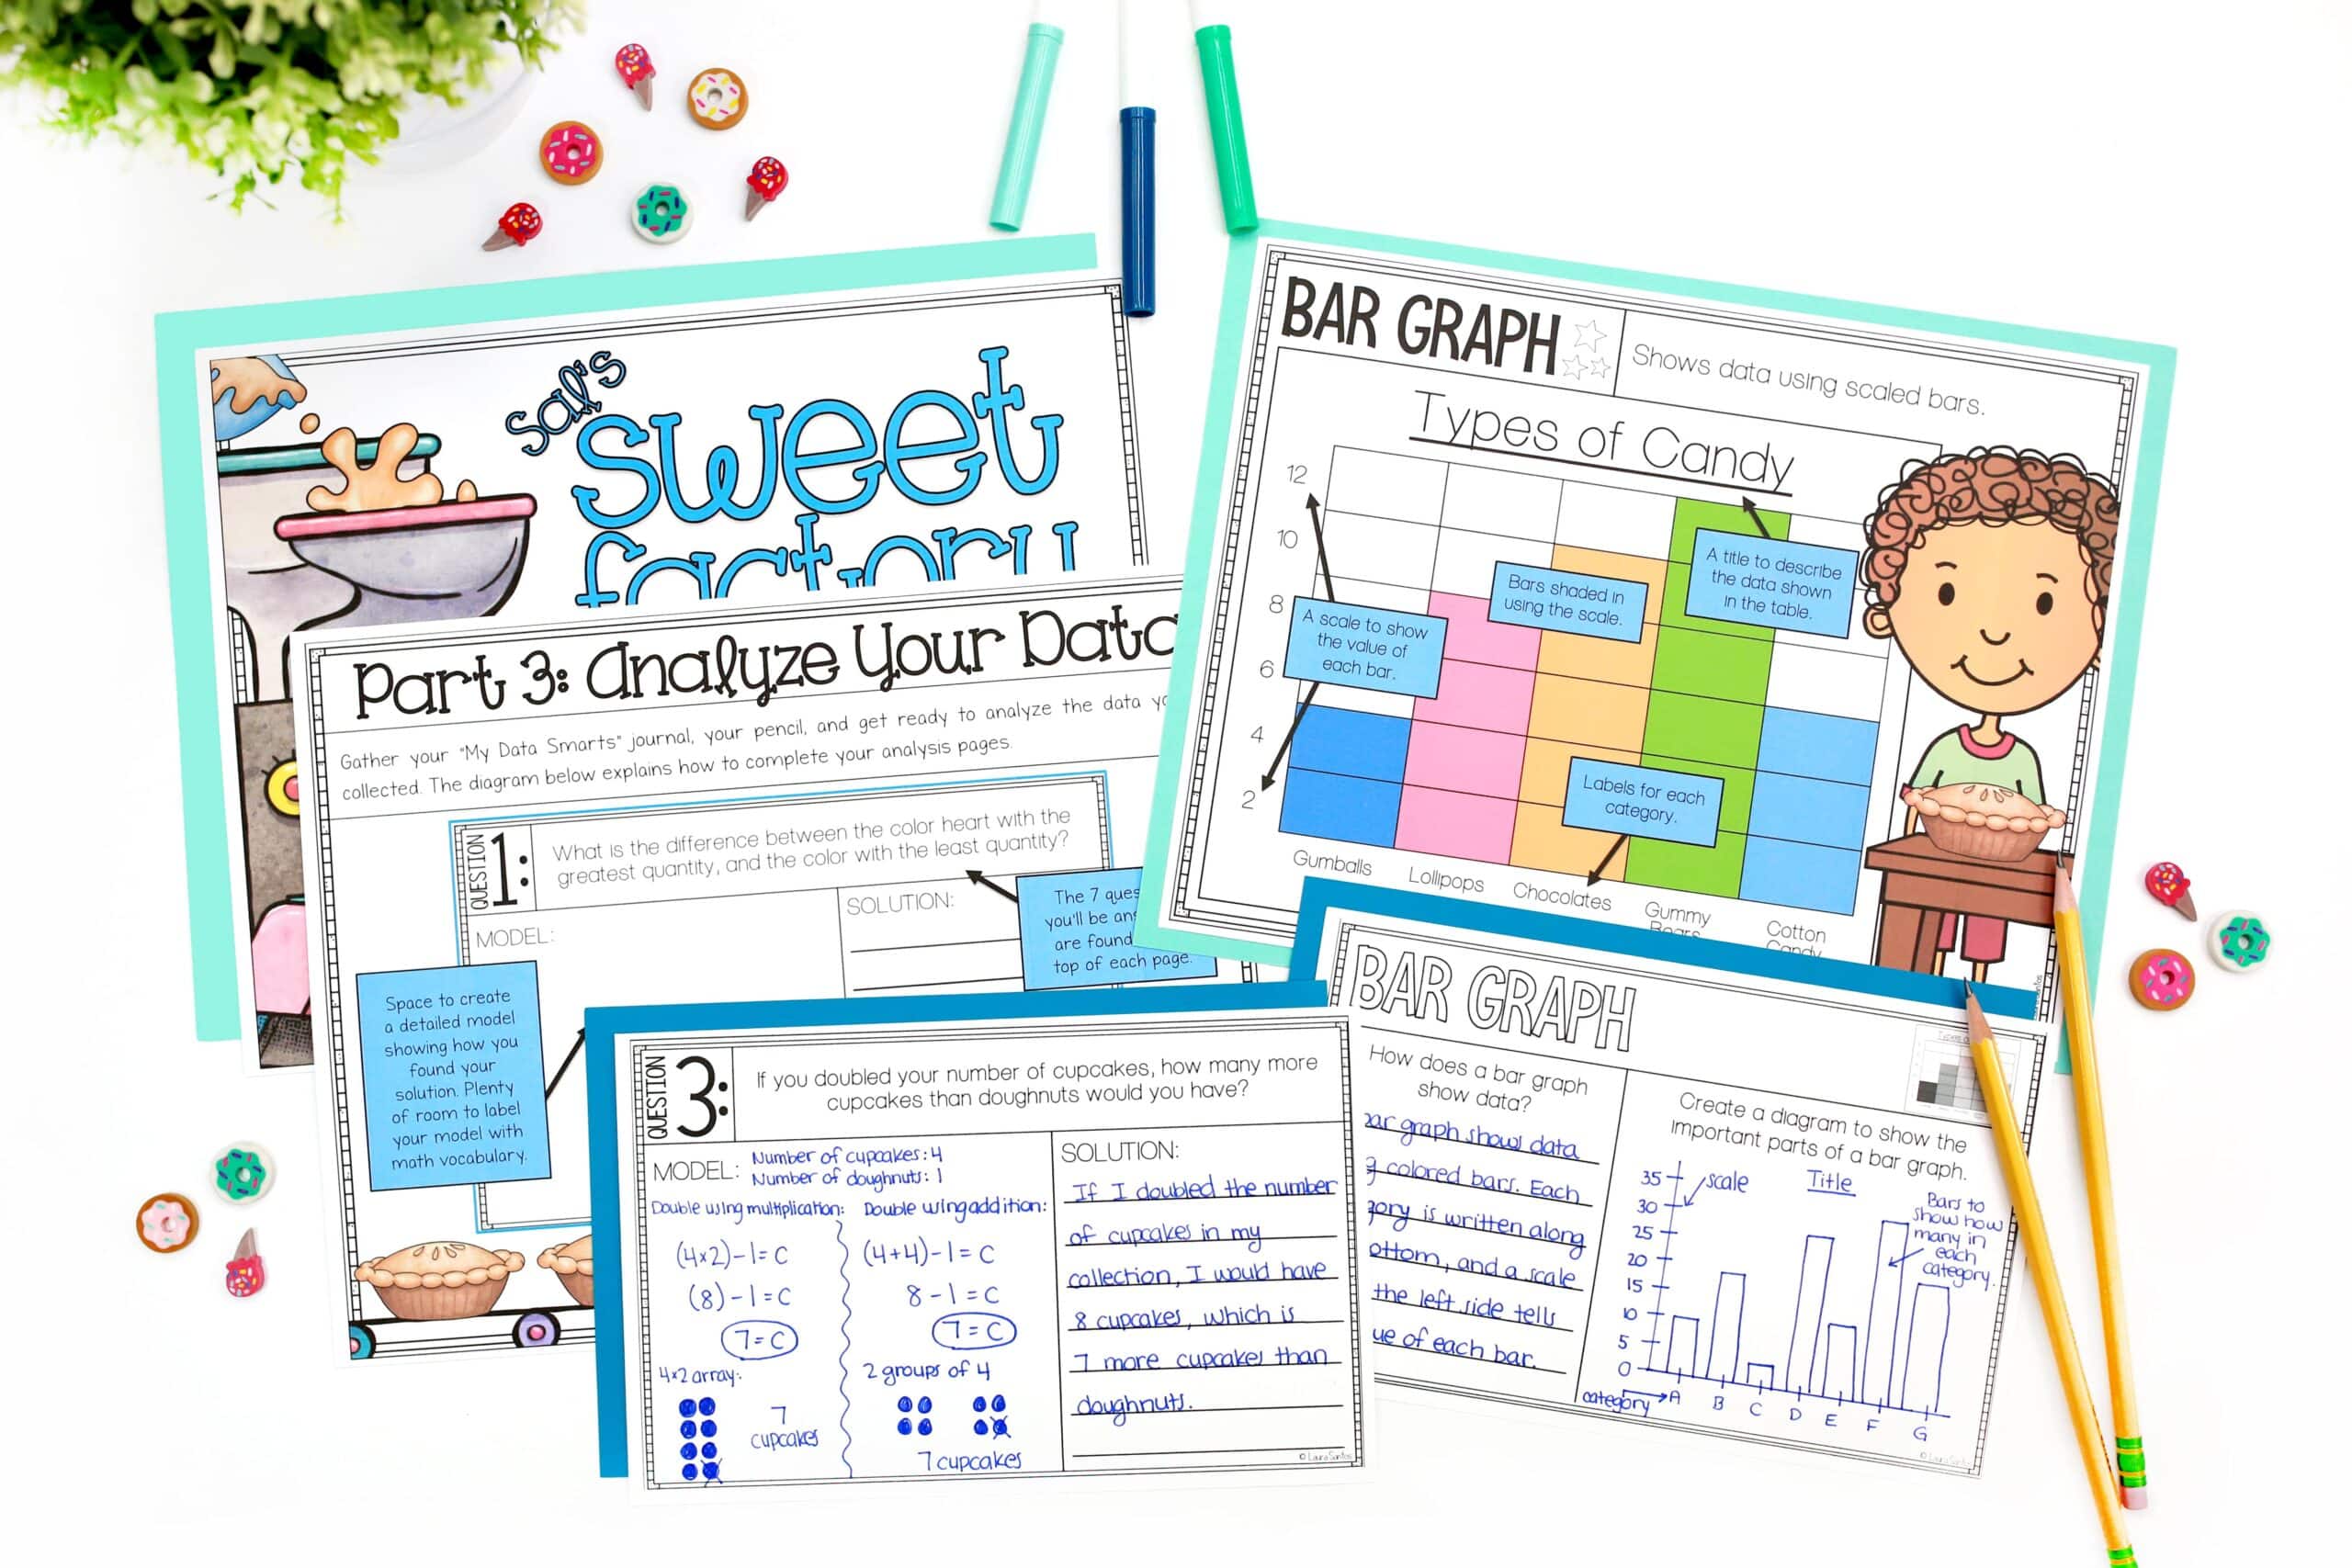
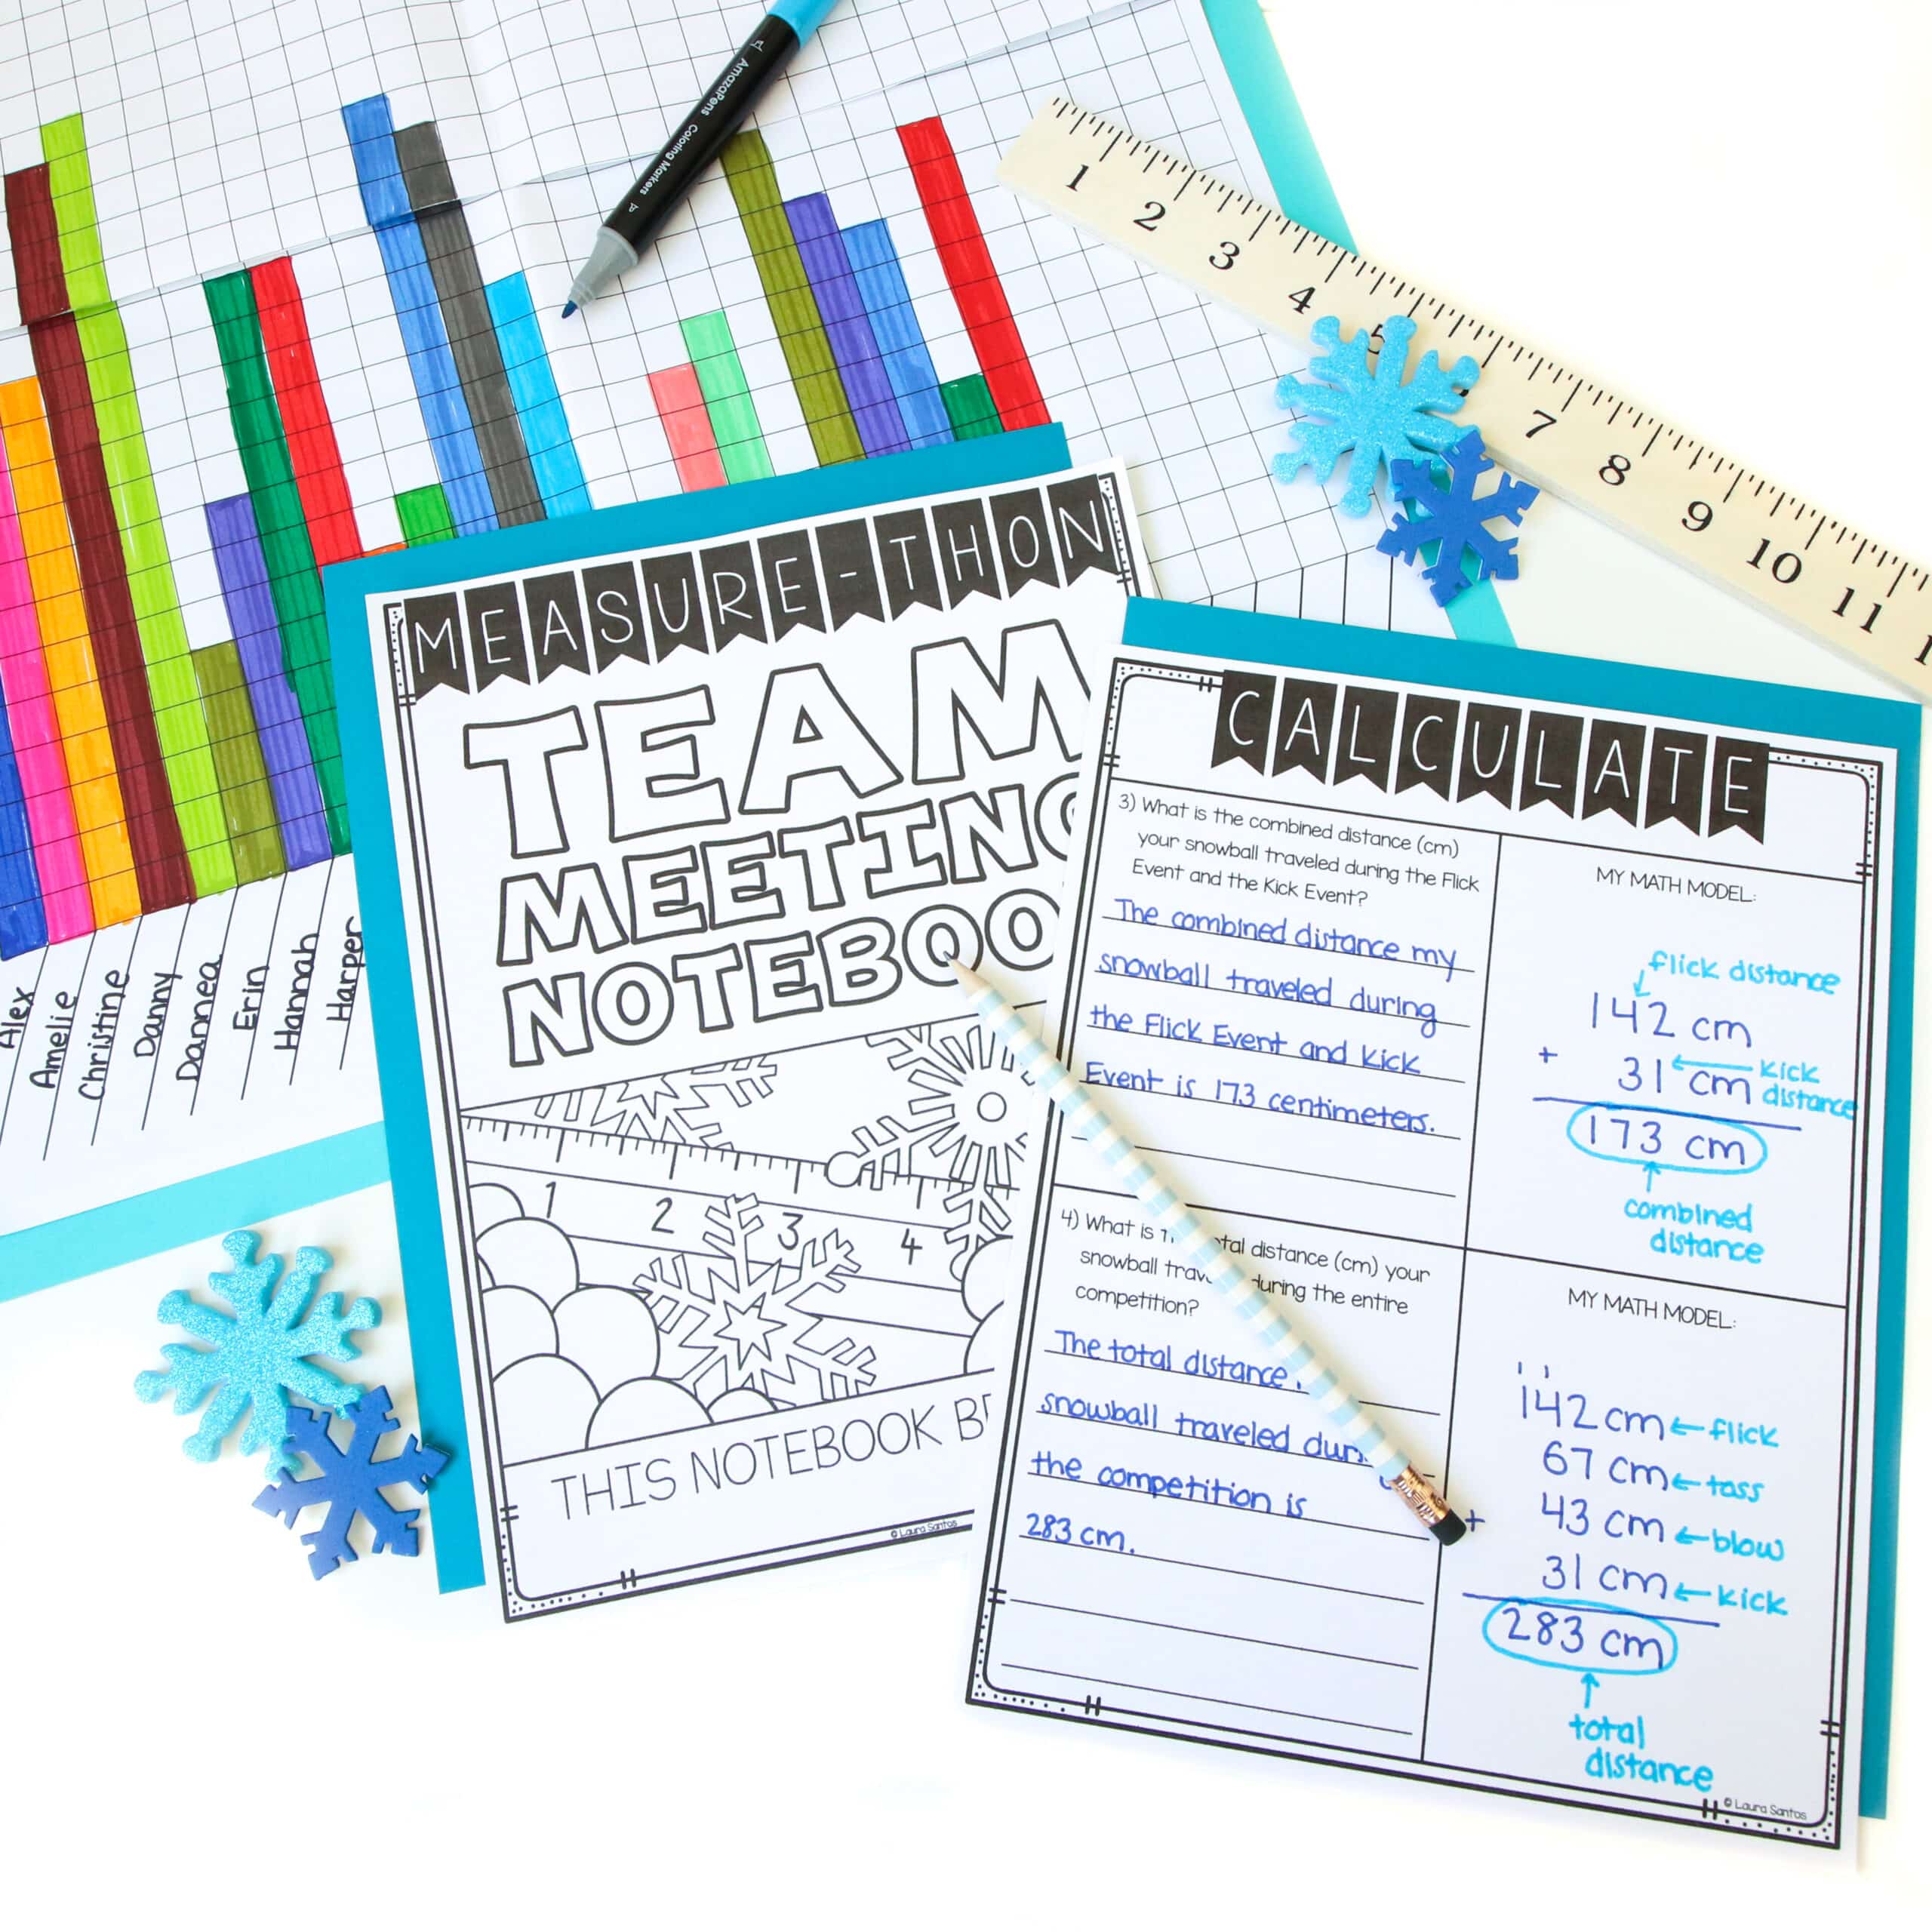
A background can help build that visual appeal because it gives you freedom to rotate and overlap thumbnails while still maintaining a polished look. I prefer solid backgrounds that help the thumbnails pop off the page rather than patterned digital papers that slightly camouflage or draw attention away from the thumbnails.
To add a solid background, select the slide or slide you wish to add a background too, click “Themes” >”Background”
> “Format Background” > “Solid”. Then choose your color and click “Apply”. The background will then appear on your slide.
Now you have seen a few tips on adding backgrounds to your products.
Background Reminders
Keep in mind, backgrounds should boost the visual appeal of your product by complimenting the contents as needed and should never direct attention away from the actual content of the resources.
If you think for a moment that a background might be a bit too much…it is…get rid of it or change it.
If you have a favorite background designer you would like to recommend, please share you knowledge in the comments below.
Up next in Design Tool 10, I will give you a few tips for incorporating clip art into your resources.


One Response
Your time investment in developing and executing this series of instructional videos is SO valued!
As I face a change in mobility and do have a ‘niche’ knowledge area: I am delighted to have you expertise in TpT techniques available in such a polished format.