One of the most common questions I receive is, “How do you keep your word work materials organized?” As you may already know, I differentiate word work instruction by using Words Their Way in my classroom. More on my exact approach here.
When it comes to keeping track of over 100 new words being taught to my differentiated word work groups each week, I like to keep it simple. Therefore, I’ve created a storage system (a binder and a bin) for all the lesson plans and masters I need in order to efficiently deliver instruction each week. Here’s the scoop on how my binder and bin are organized.
This post contains affiliate links for which I may make a small commission at no extra cost to you should you make a purchase.
Word Work Binder
Sort Storage
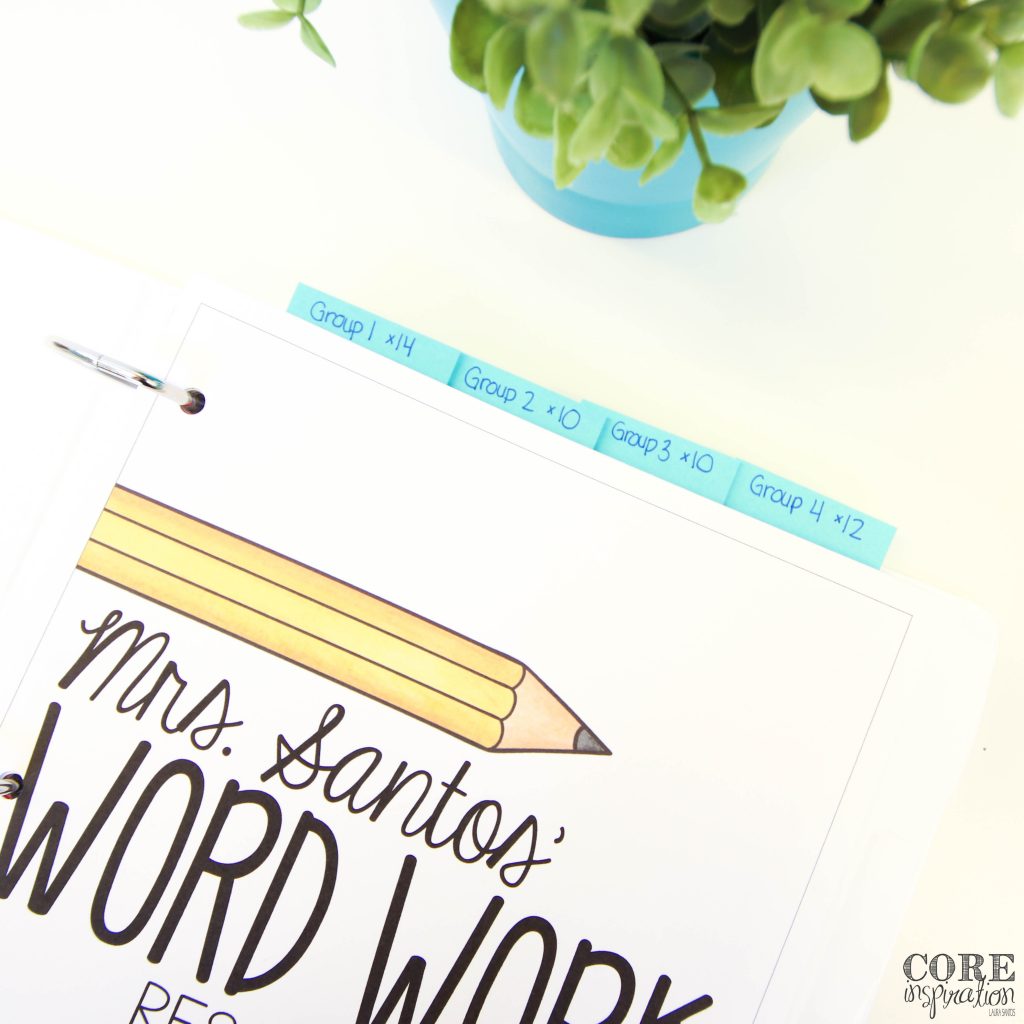
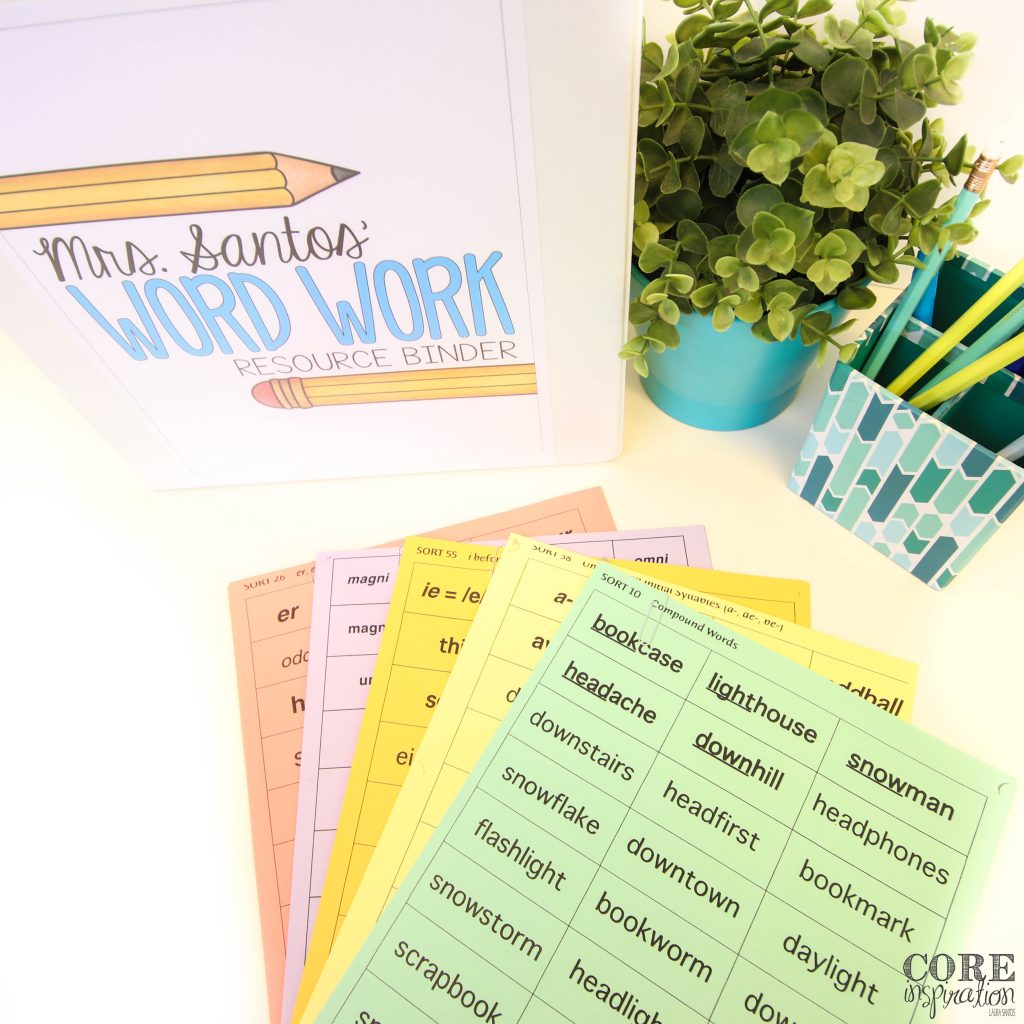
The main reason I have this binder is to store all the books of sorting masters I have. To set up this binder, I ordered all the Words Their Way master sort books my third graders might be working from. These books included the end of the Letter Name Alphabetic book, Within Words Patterns book, Syllables and Affixes book, and Derivational Relations book (each of these is an Amazon affiliate link).
I then proceeded to cut the spine off each book so I was able to copy each page without struggling with an awkward binding at the copy machine. It’s all about eliminating these little annoyances before you dig into the school year so your weekly prep routine is as smooth as possible. Once all the spines were cut off, I hole punched the pages and inserted them into a 2-inch binder with plastic dividers between each book.
Cover and Spine
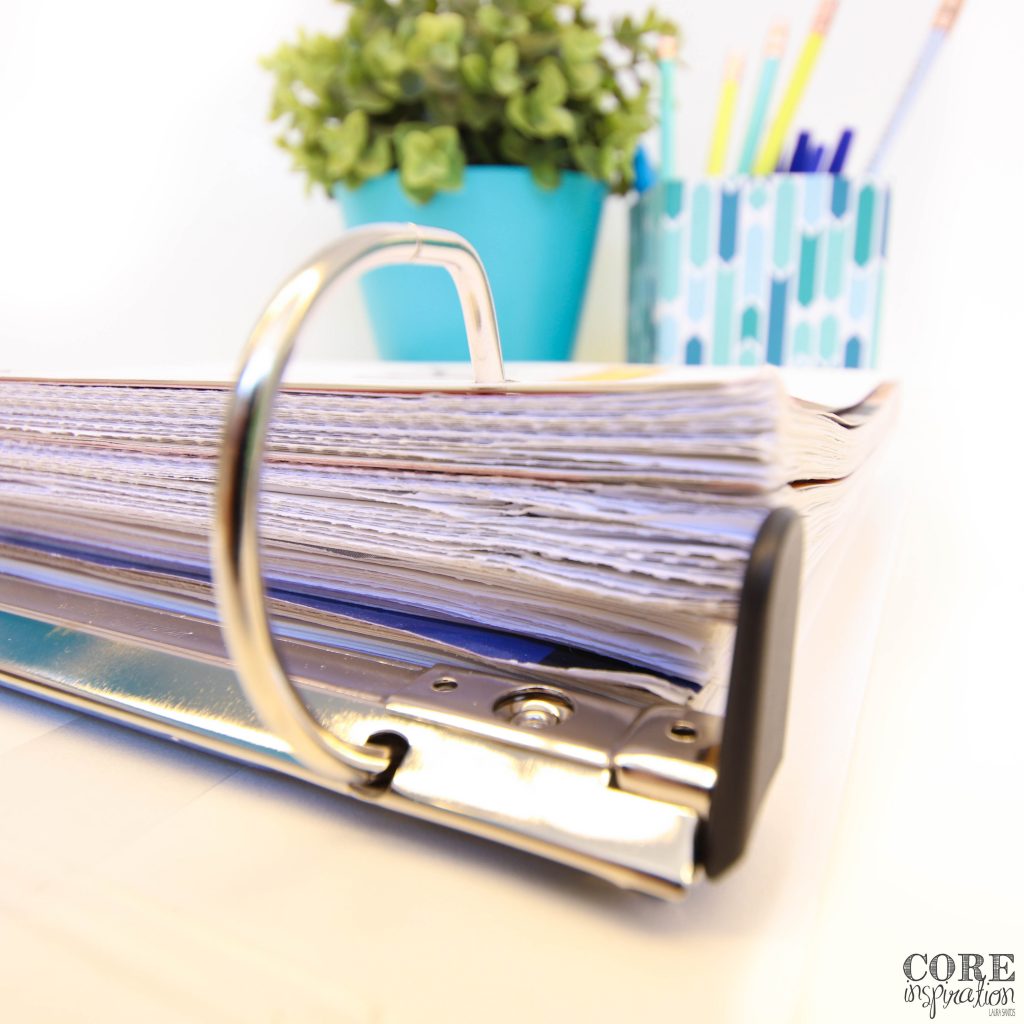
My binder has a cover and spine with my name clearly written just in case I accidentally leave it in the copy room. 🙂
Assignment Spreadsheet
After setting up my differentiated groups and identifying the sorts for each group, I make a master spreadsheet of the sorts each group will be working on for that trimester. This spreadsheet includes the students within each group, and the sort they will be working on each week.
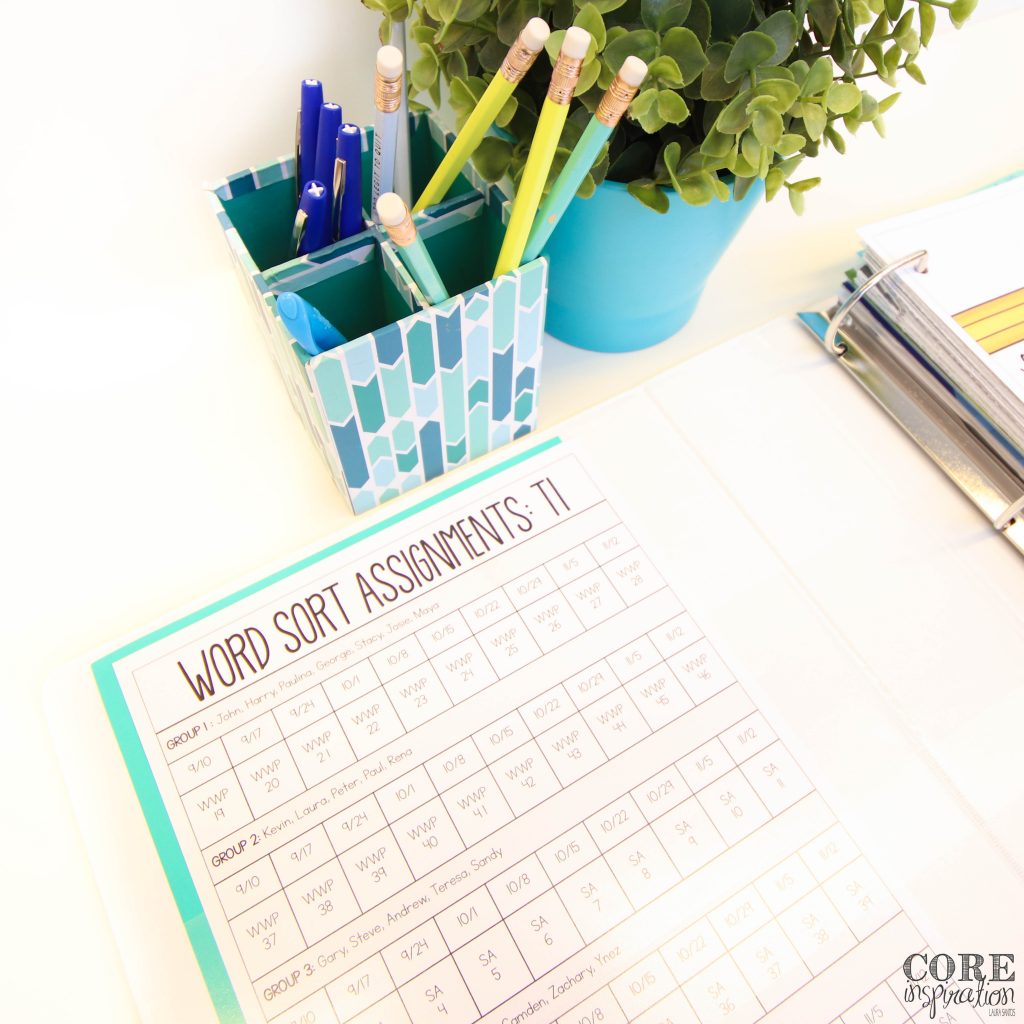
Using this spreadsheet, I copy word sorts for each group 6-8 weeks at a time. The sorts for each group are copied on a different color paper, making it easier to identify any word cards that may get misplaced during the course of the week.
I also use this spreadsheet on Friday before school as I assign each group their assessment for the week using Spelling City. When my students complete their word work assessment, I cross out the sort they’ve completed on the spreadsheet, making it even easier to read the following week.
I recreate this spreadsheet each trimester after reassessing my students following the steps for assessing and creating groups outlined in the Words Their Way teacher guide. I reassess and regroup my students each trimester. Typically, my third grade class of 25 students is differentiated into 4-6 word sort groups.
Sticky Note Book Marks
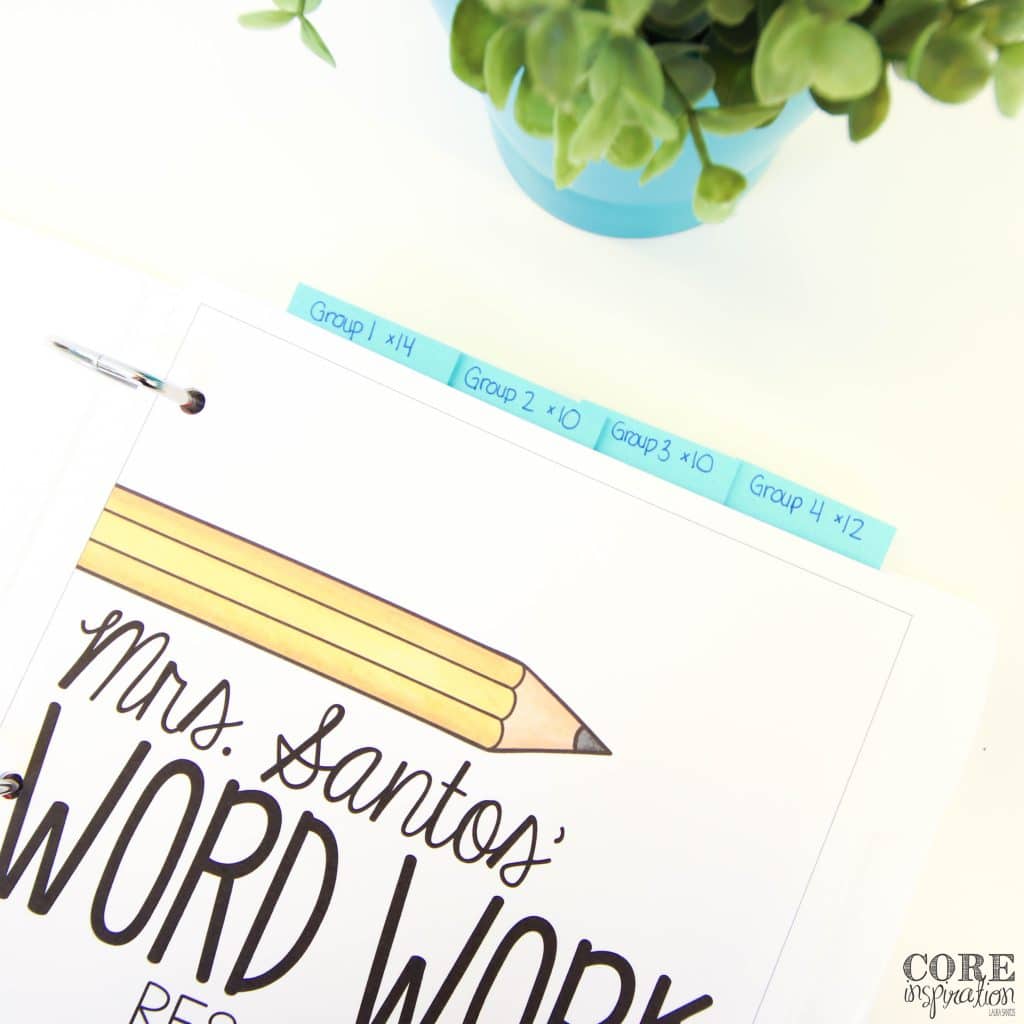
Another little something that makes copying and organizing sorts for each group more efficient are sticky notes. At the end of a copy session, I mark the page of the next sort that should be copied for each group with a sticky note, along with the number of copies needed for that group. When it comes time for a copy session, I quickly cross check the sort I have tagged with the sort I have noted on my spreadsheet.
Word Work Bin
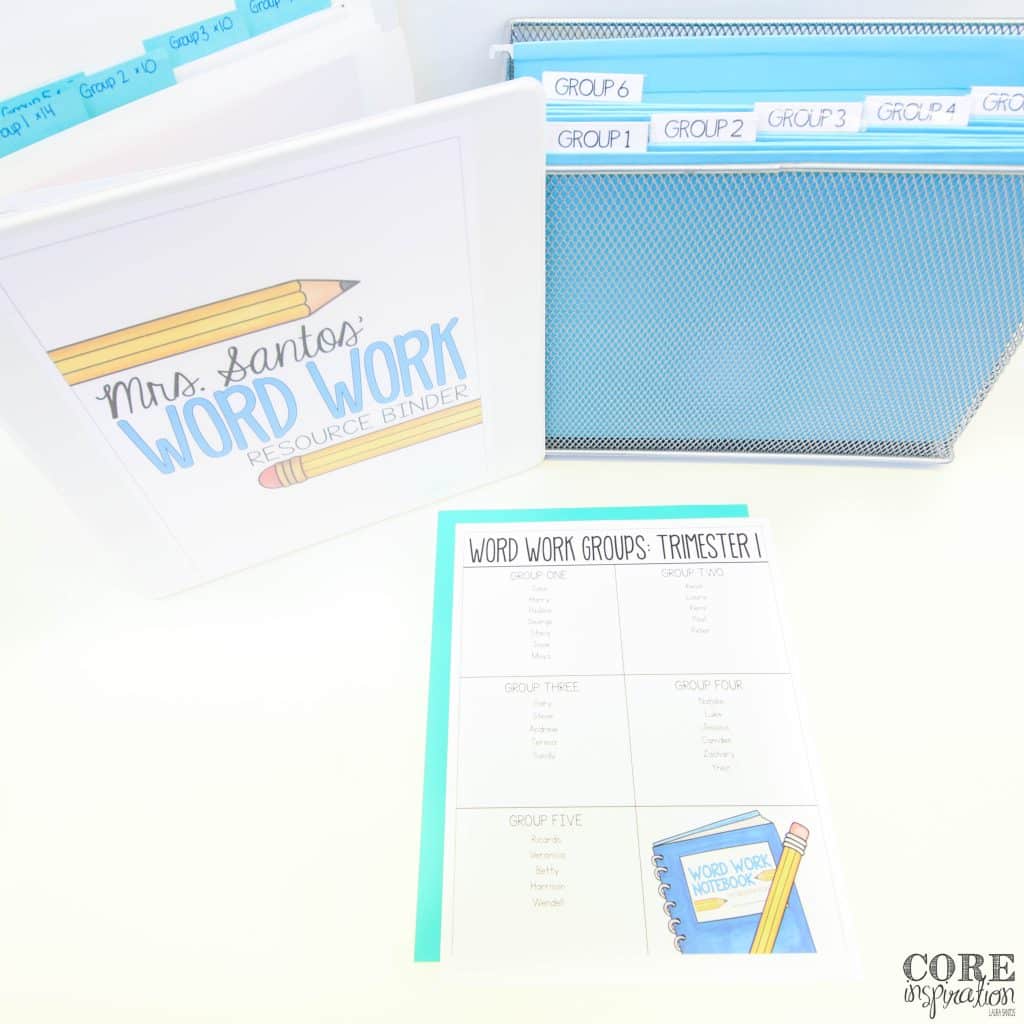
The other storage tool that boosts my word work organization and efficiency is a hanging file bin where I store upcoming sorts. Inside this bin, each word work group has its own hanging file where copied sorts are paper clipped and organized in chronological order.
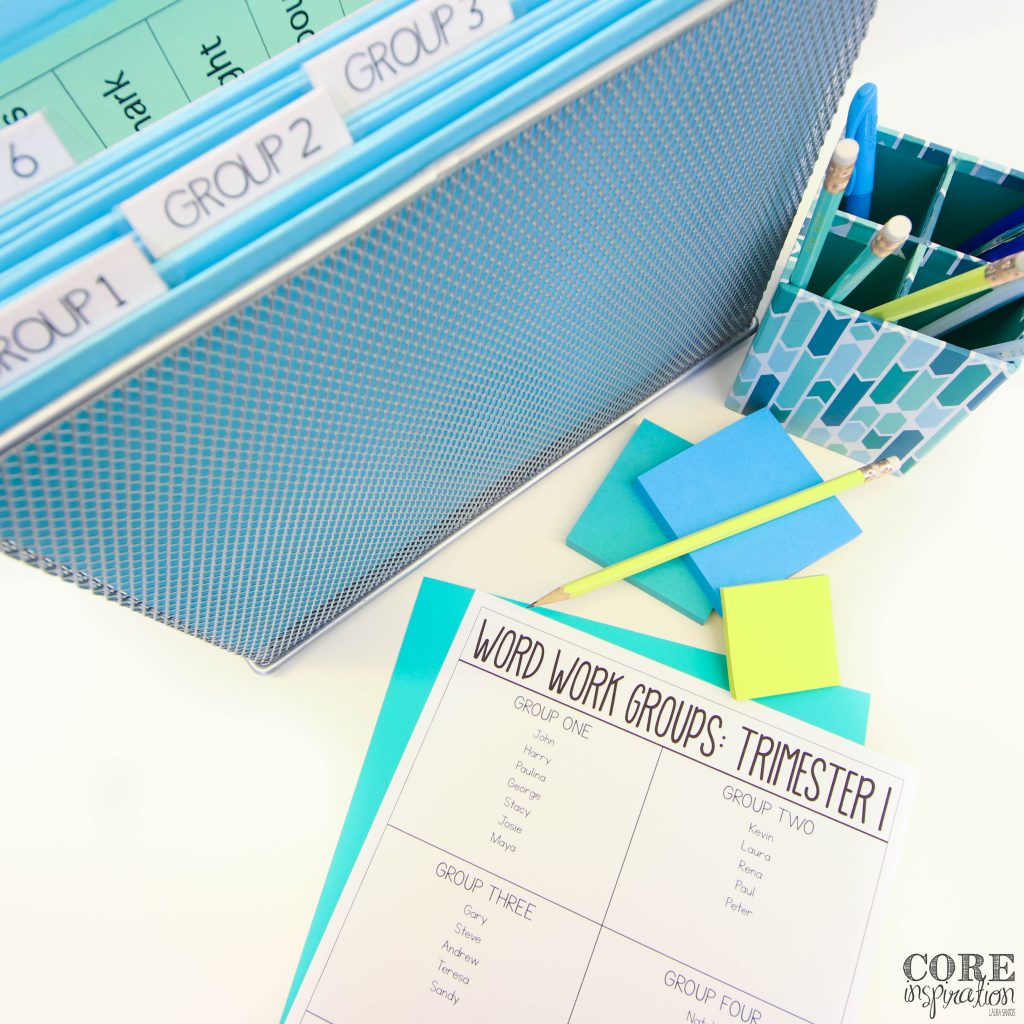
At the front of this bin is a list of my word work groups. Each Friday after school, I quickly pull out a paper clipped stack of sorts, remind myself who’s in that group, and deliver the sort to the correct desk so it’s ready for the student to “Cut, Label, Pocket” the following Monday.
Getting Your Materials Organized
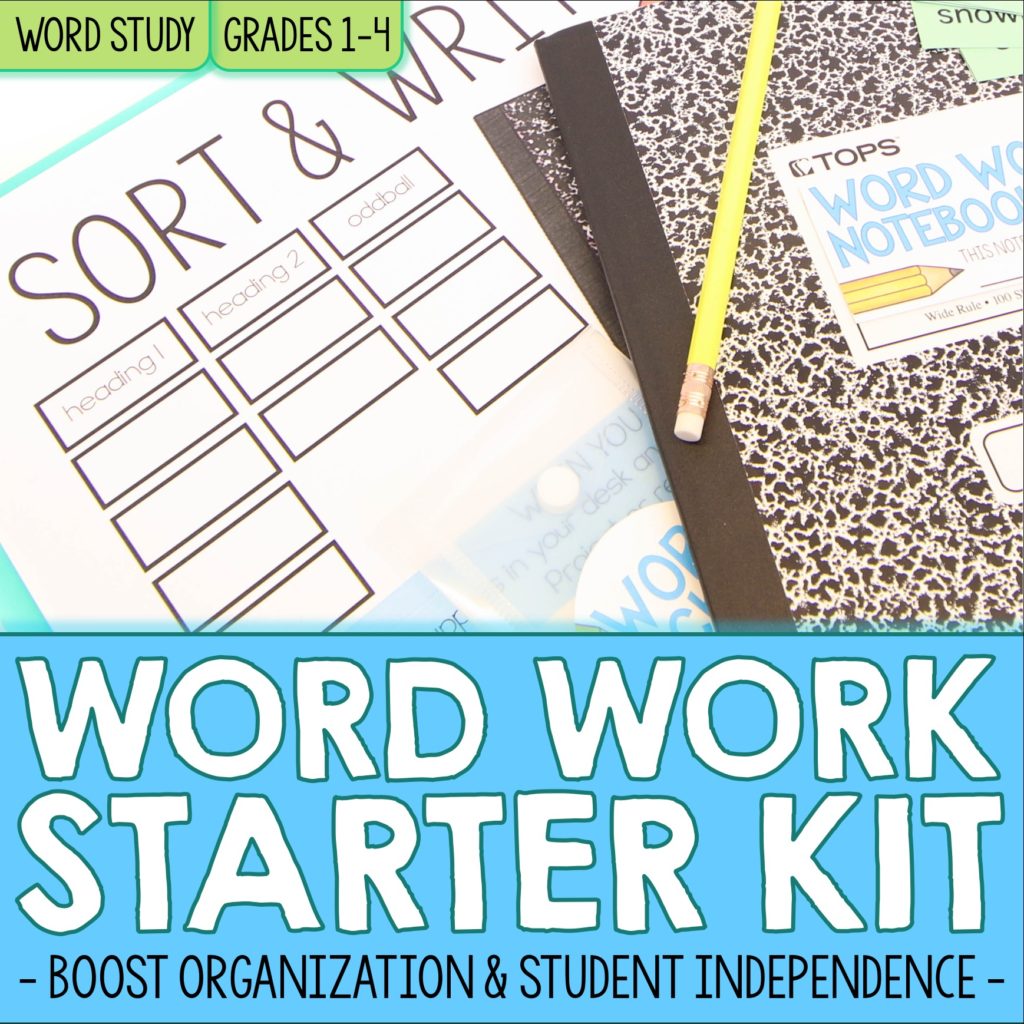
Perhaps this peek at my word work organization system will help you set up your own system. If you have other tips for keeping your word work resources organized, please don’t hesitate to share them in the comments below so we can all learn from one another. If you are interested in using the same tools I use, they are all ready for your to edit and print as part of my Word Work Starter Kit.


One Response
How did you cut off the spine? What a great idea!